Samos White Freestanding Acrylic Spa Bath - 1750 x 750 x 540mm


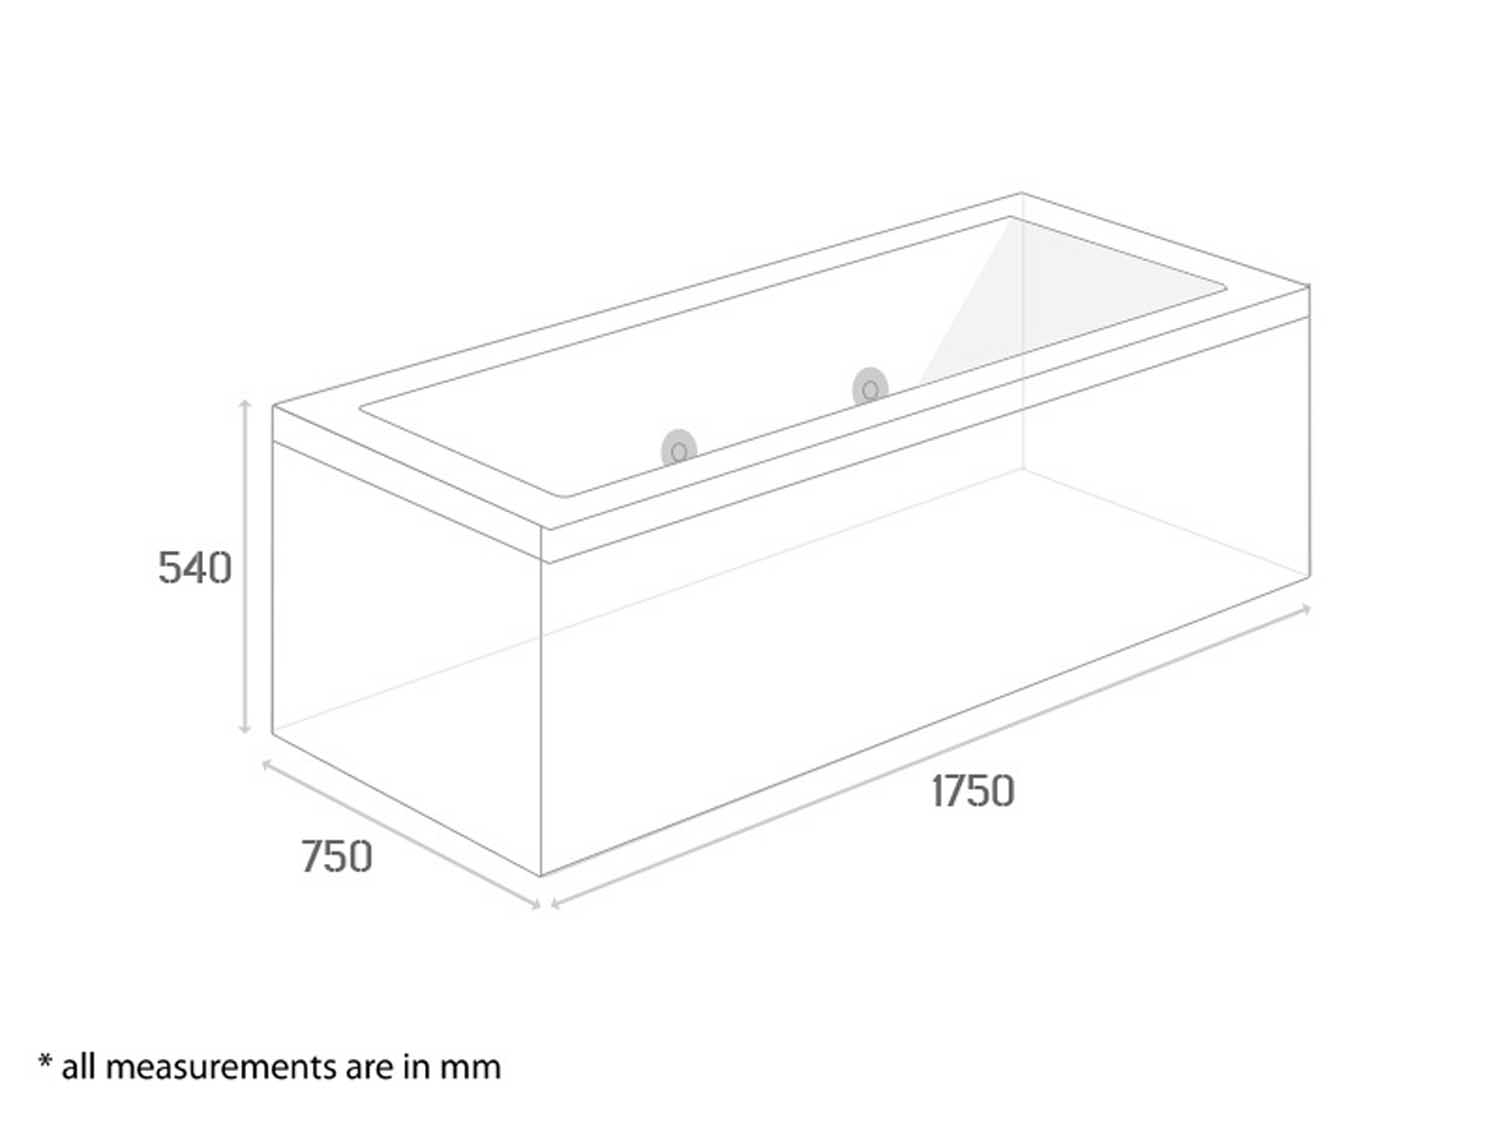
Samos White Freestanding Acrylic Spa Bath - 1750 x 750 x 540mm

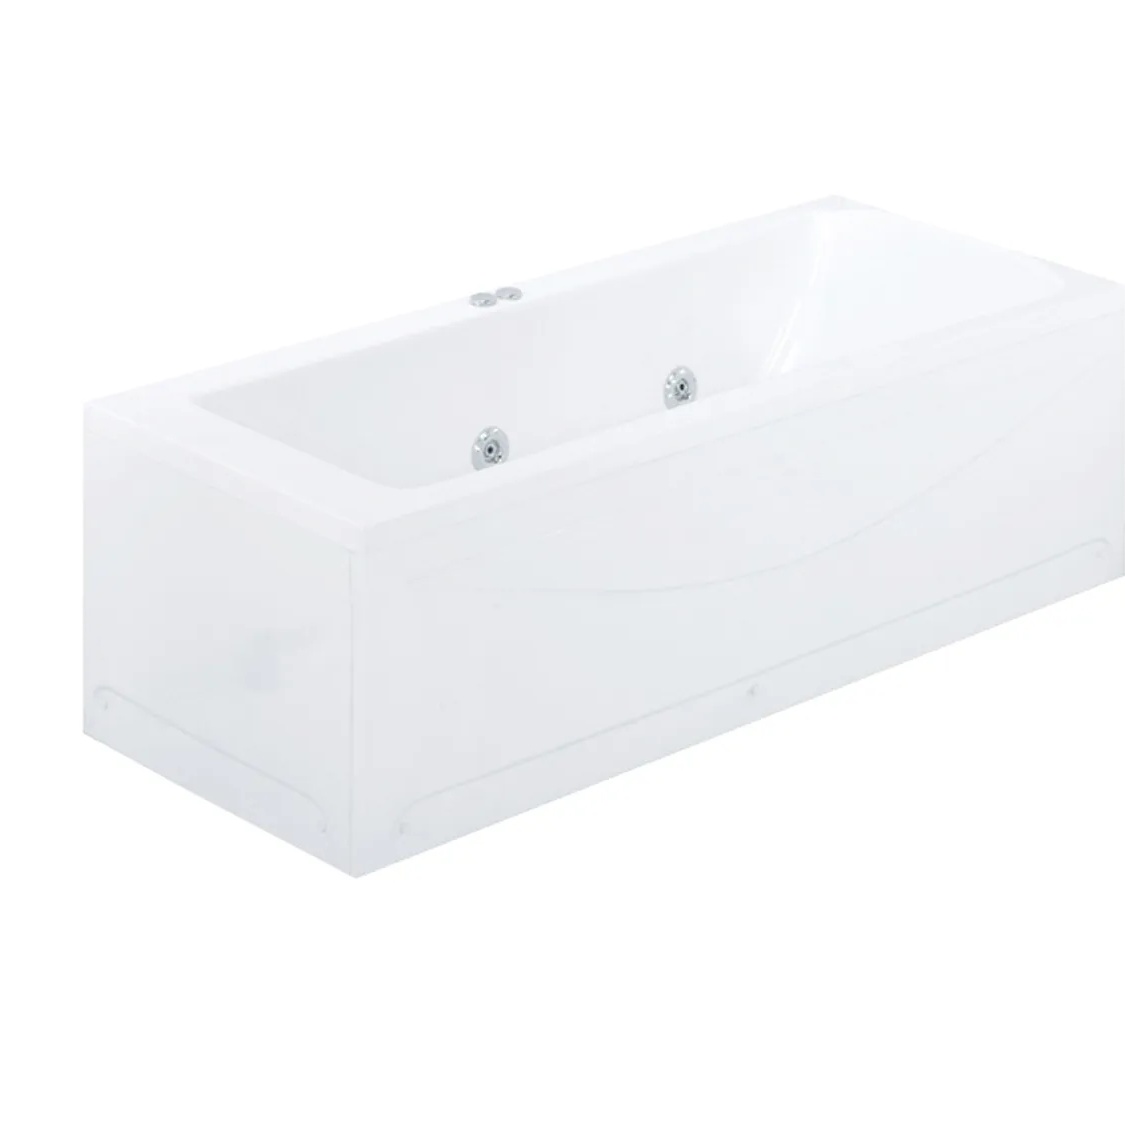
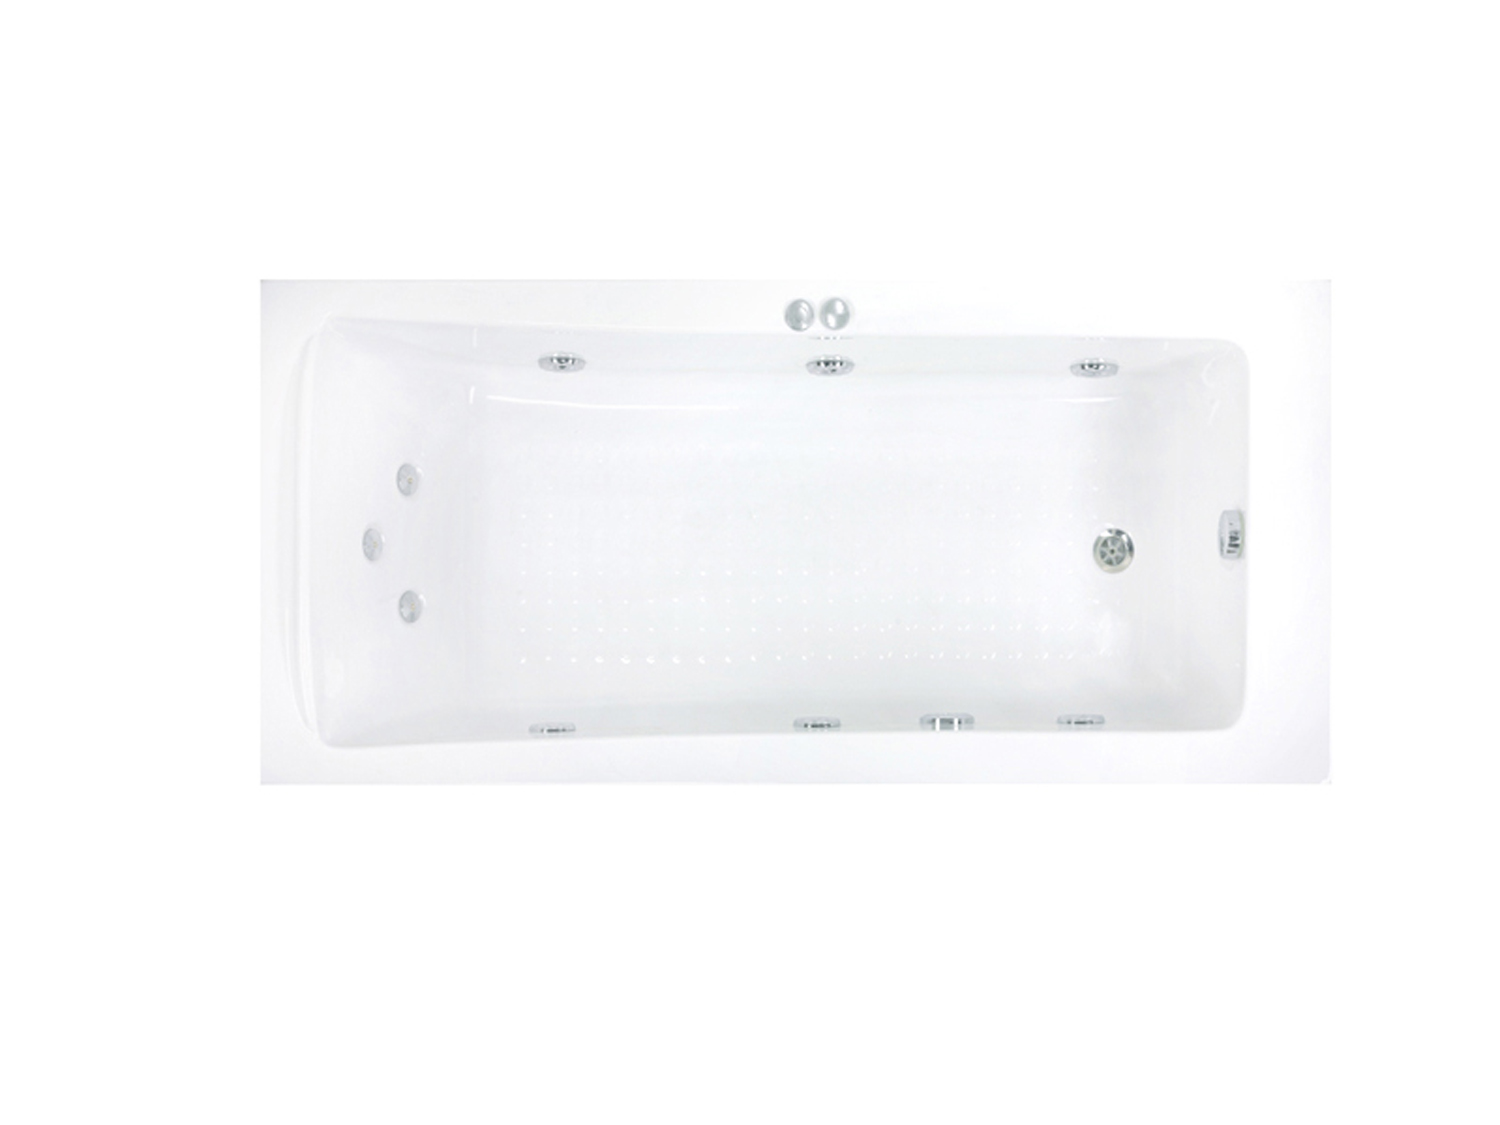
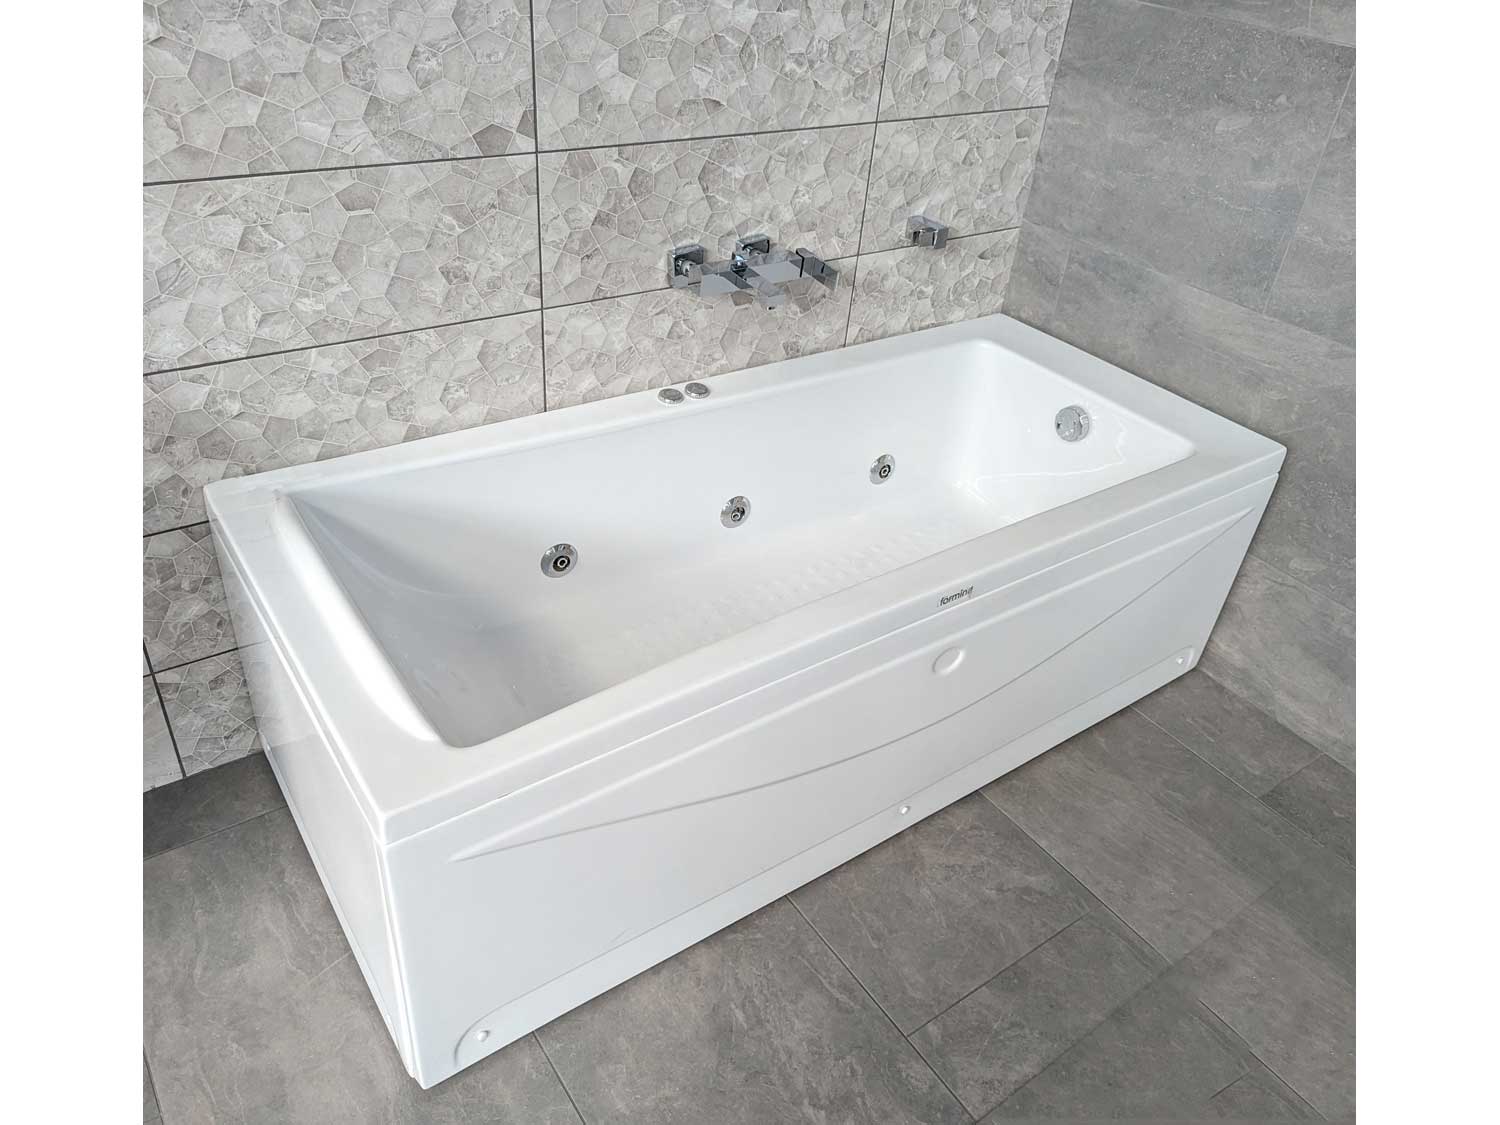
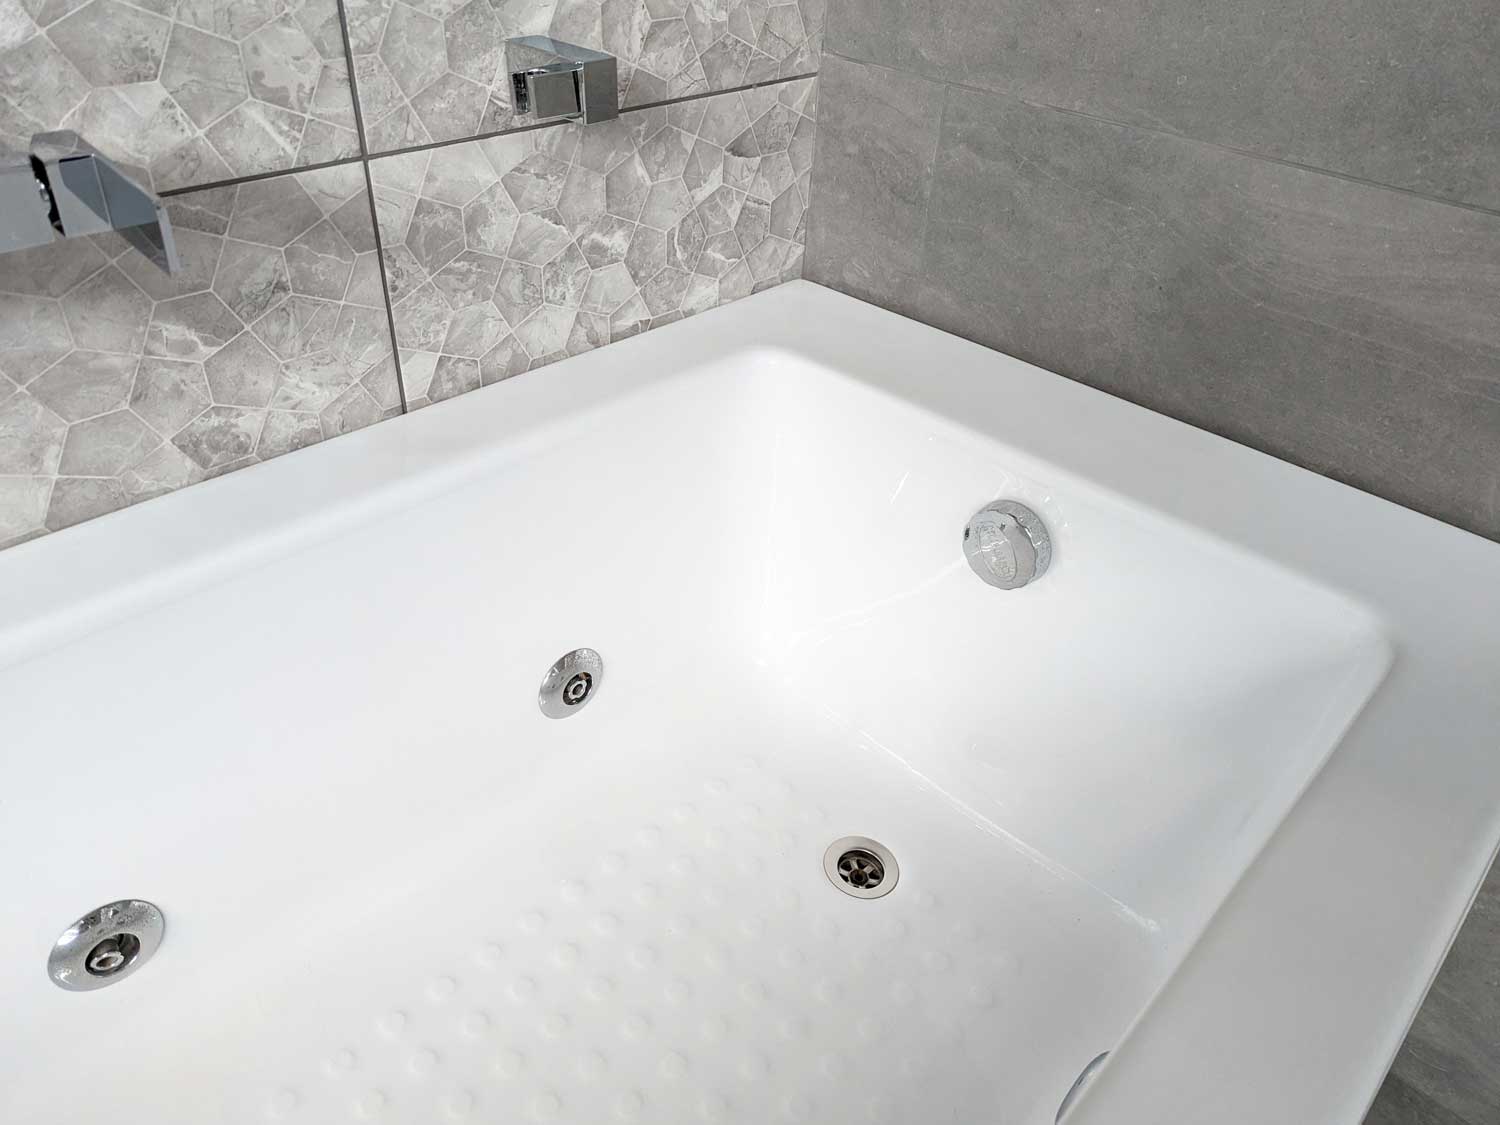
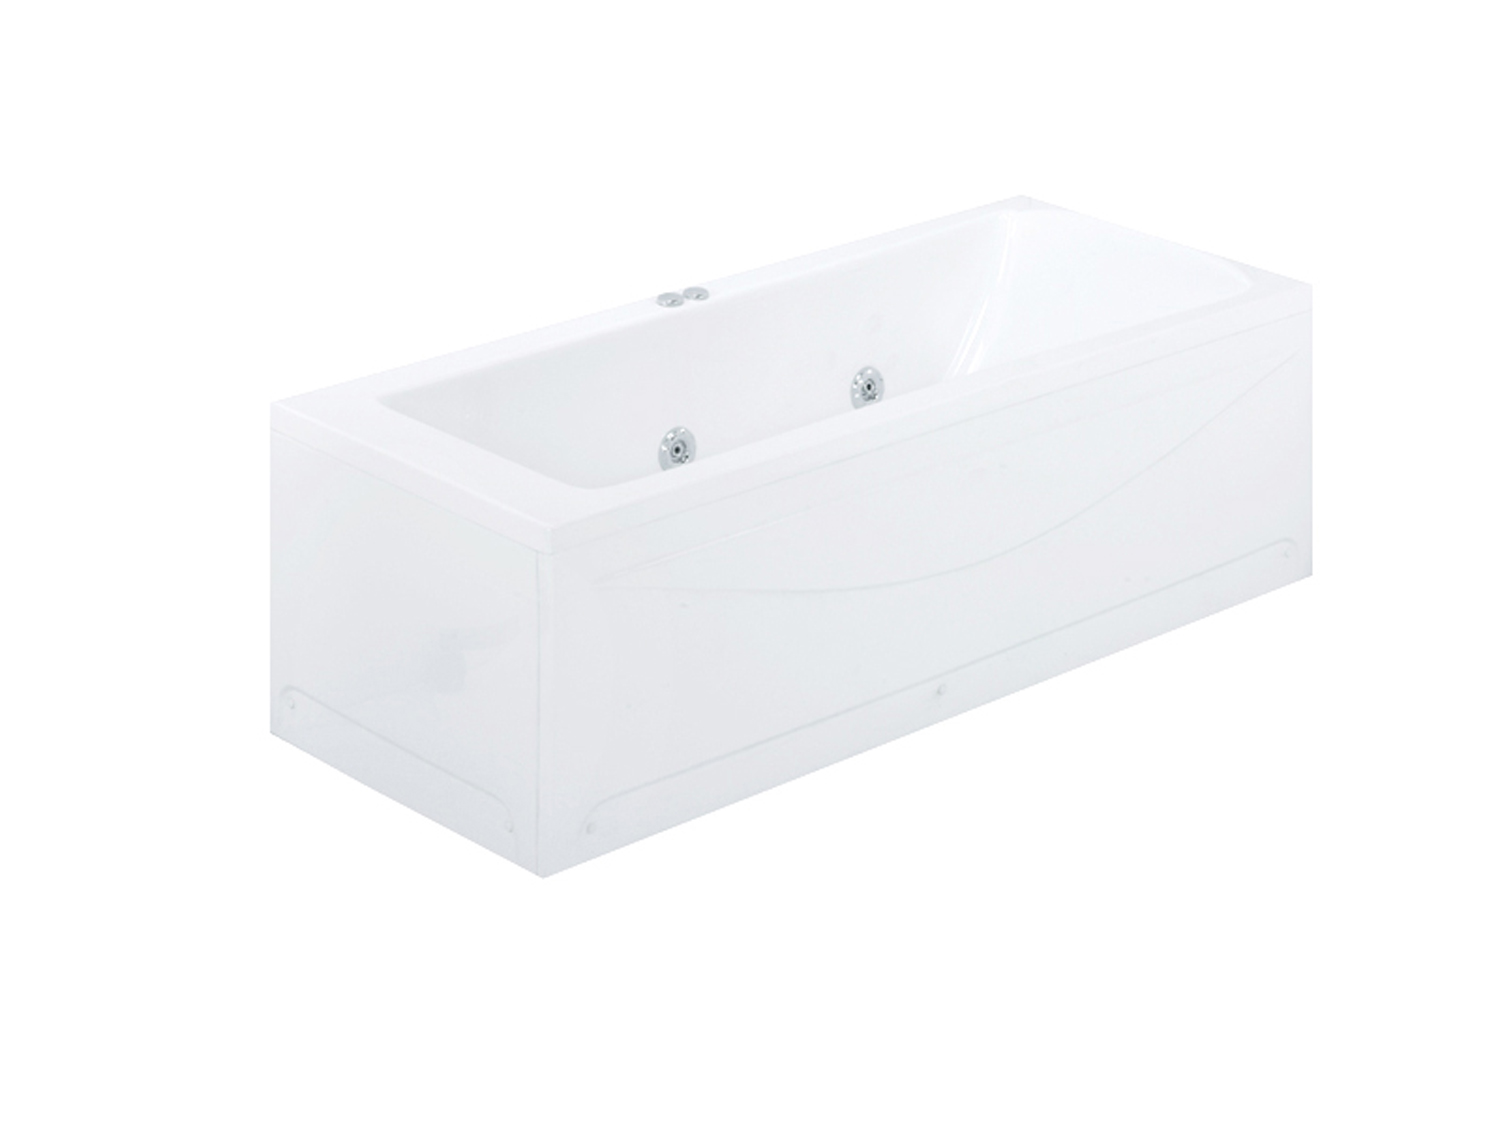
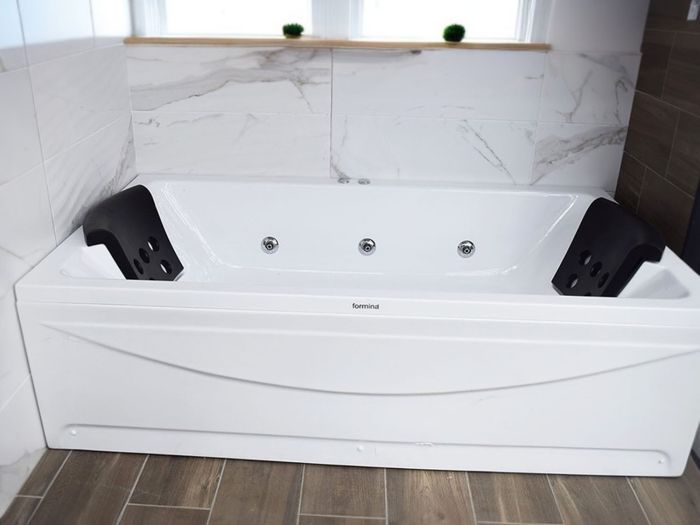
Unwind after a long tiering day with the Formina Samos Bathtub which is a combination bath and whirlpool tub.
This spa bathtub features 3 whirlpool jets and 6 air jets. The Formina Samos Bathtub is roomy enough for one adult. The drain is strategically centered to the side for added comfort.
Features
- Size: 1750 x 750 x 540mm.
- 3 whirlpool jets and 6 air jets
- Made in Turkey
- Easy to Install and maintain
- Color: White
- Includes a On/OFF button
- Volume - 224 L
- Type: Freestanding acrylic bathtub.
- Motor - Wendy Whirlpool Pump (WPOL 600).
- Motor Supply Voltage: AC 220-240V 50Hz 750W.
- Motor Plug - 13AMP.
- Motor Water proofscale: IP44.
Note: This bathtub should be installed by a qualified contractor or plumber.
Product Specifications
| Brand | Formina |
|---|---|
| Colour | White |
| Type | Freestanding Bath |
| Depth | 380 mm |
| Height (mm) | 540 mm |
| Length (mm) | 1750 mm |
| Width (mm) | 750 mm |
| Volume | 170 L |
| Waste Size | 52 mm |
| Overflow Size | 41 mm |
| Product Weight | 25 kg |
1. Unpack Your New Freestanding Bath From The Carton
- You will need the following for the installation:
- Spirit Level
- Adjustable wrench
- Plumbing tape
- Rubber Mallet
- Ensure the Freestanding Bath does not come in contact with a rough surface or sharp object as this will cause scratches.
- Measure and make markings on the wall with a pencil.
- Place the freestanding bath in position on the marked surface.
- This area should be dry, clean and free of debris.

2. Adjust Level Of The Bath
- Use the spirit level to adjust the self-leveling feet such that the entire bath is level.
- The water will drain efficiently only if the bath is perfectly level.
- Please ensure the legs are adjusted in line with the base of the bath.
- Make sure area under the bath is clear of dirt and tools.
- Take care not to damage bath exterior during positioning.

3. Connect Bath To The Waste Outlet
- You can now connect the bath drain popup to the waste outlet. You can also now connect the cold and hot water inlet to the bath. Make sure to use plumbing tape to make sure all threaded connections are water tight.
- When connecting the flexible tubes, ensure these are not bent or twisted as this will slow down the water flow in the drain and water inlets.
- Turn on the main water supply to your taps, if you have not already done so.

4. Complete Installation and Test.
- Remove the thin masking plastic from the bath.
- Open the taps and fill the bath with water slowly while constantly checking the waste outlet and water inlets for any leaks.
- Apply a thick line of silicone around the perimeter base of the bath in order to water proof it.
- Allow 24 hours for this to set and dry completely.
Note: The above is just a quick guide. If you are unsure about the installation than you can seek help from a qualified plumber or contractor.


Ready when you are!
Buy Online and we will reserve and pack your order to ensure a speedy collection at your local CTM store. We offer free collections at all our CTM stores countrywide.
Normally, orders will be ready for collection on the same day payment is made and confirmed. For all cheque payments, your order will be processed and dispatched once the cheque is deposited and clears. See all our payment options here.