Duna White Built-in Straight Bath - 1700 x 750mm
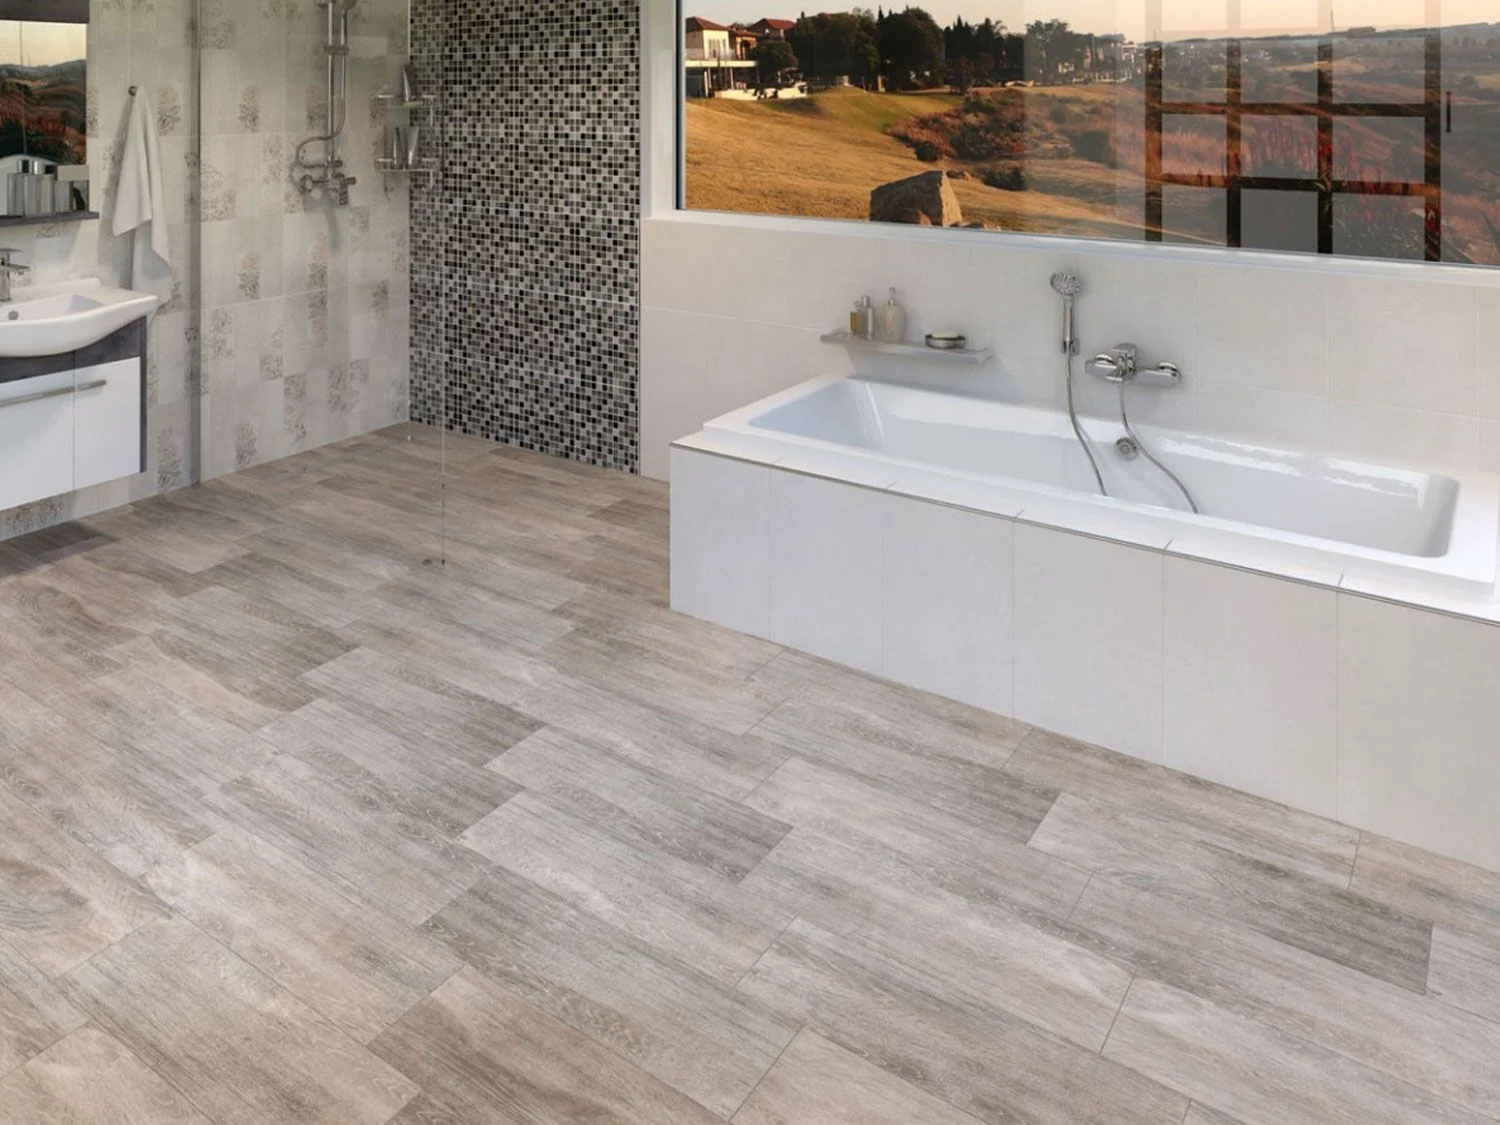

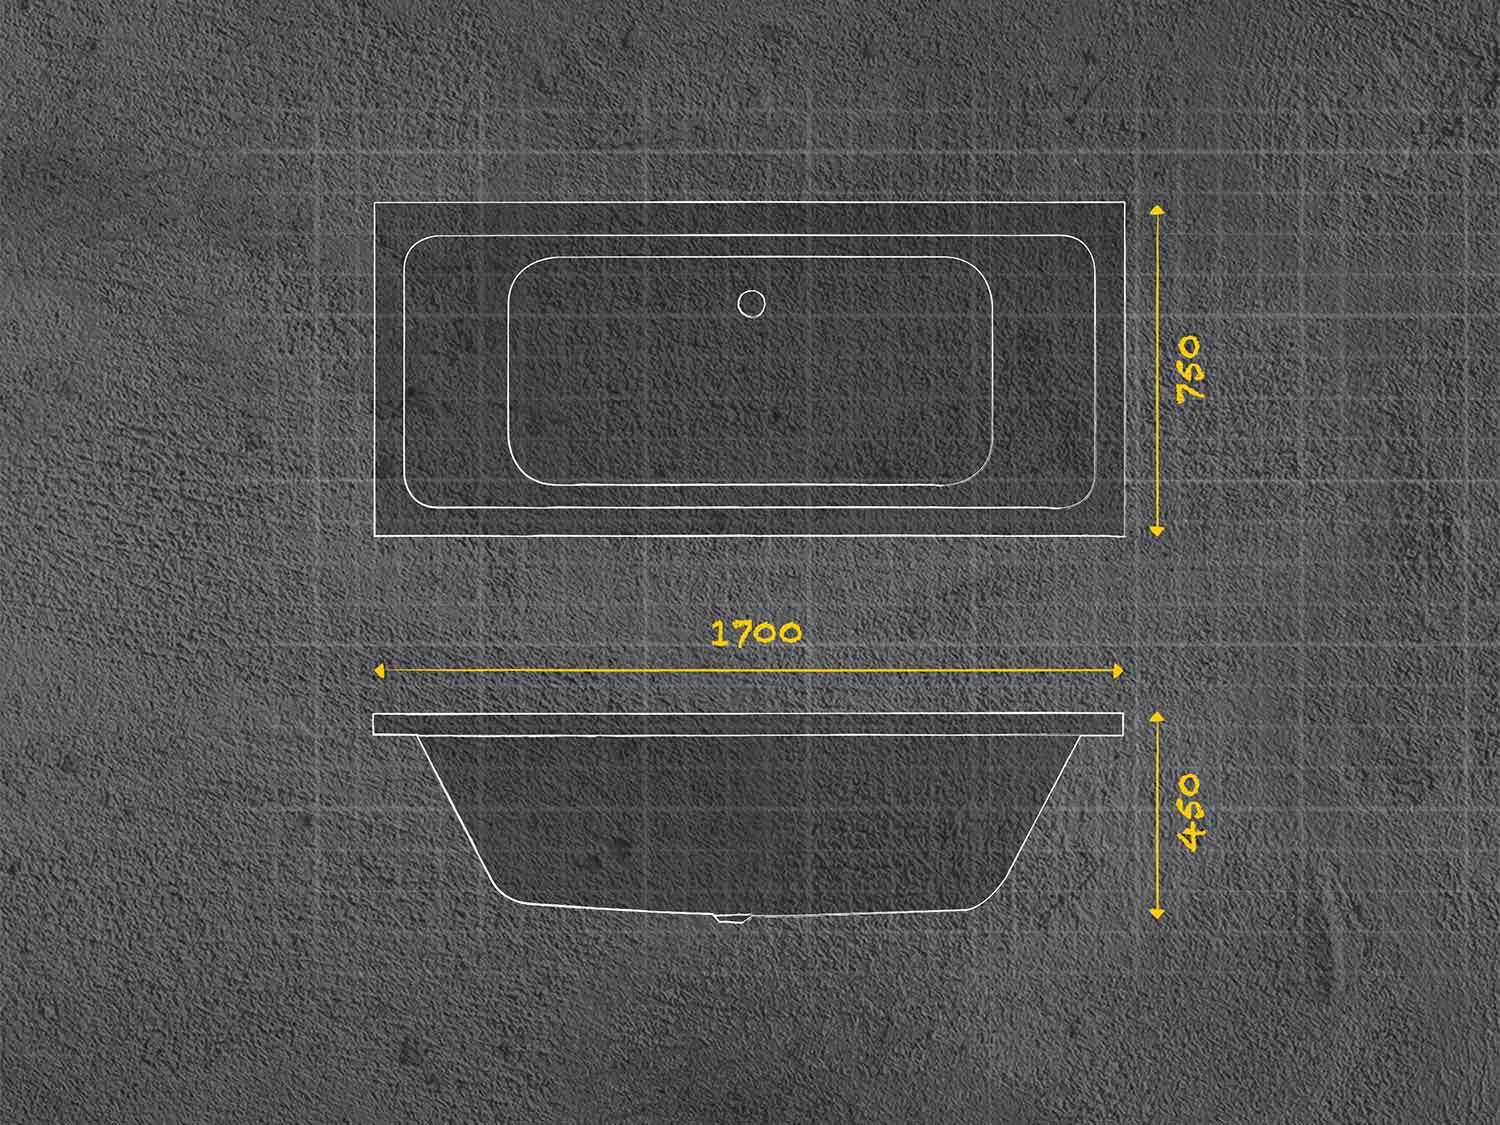


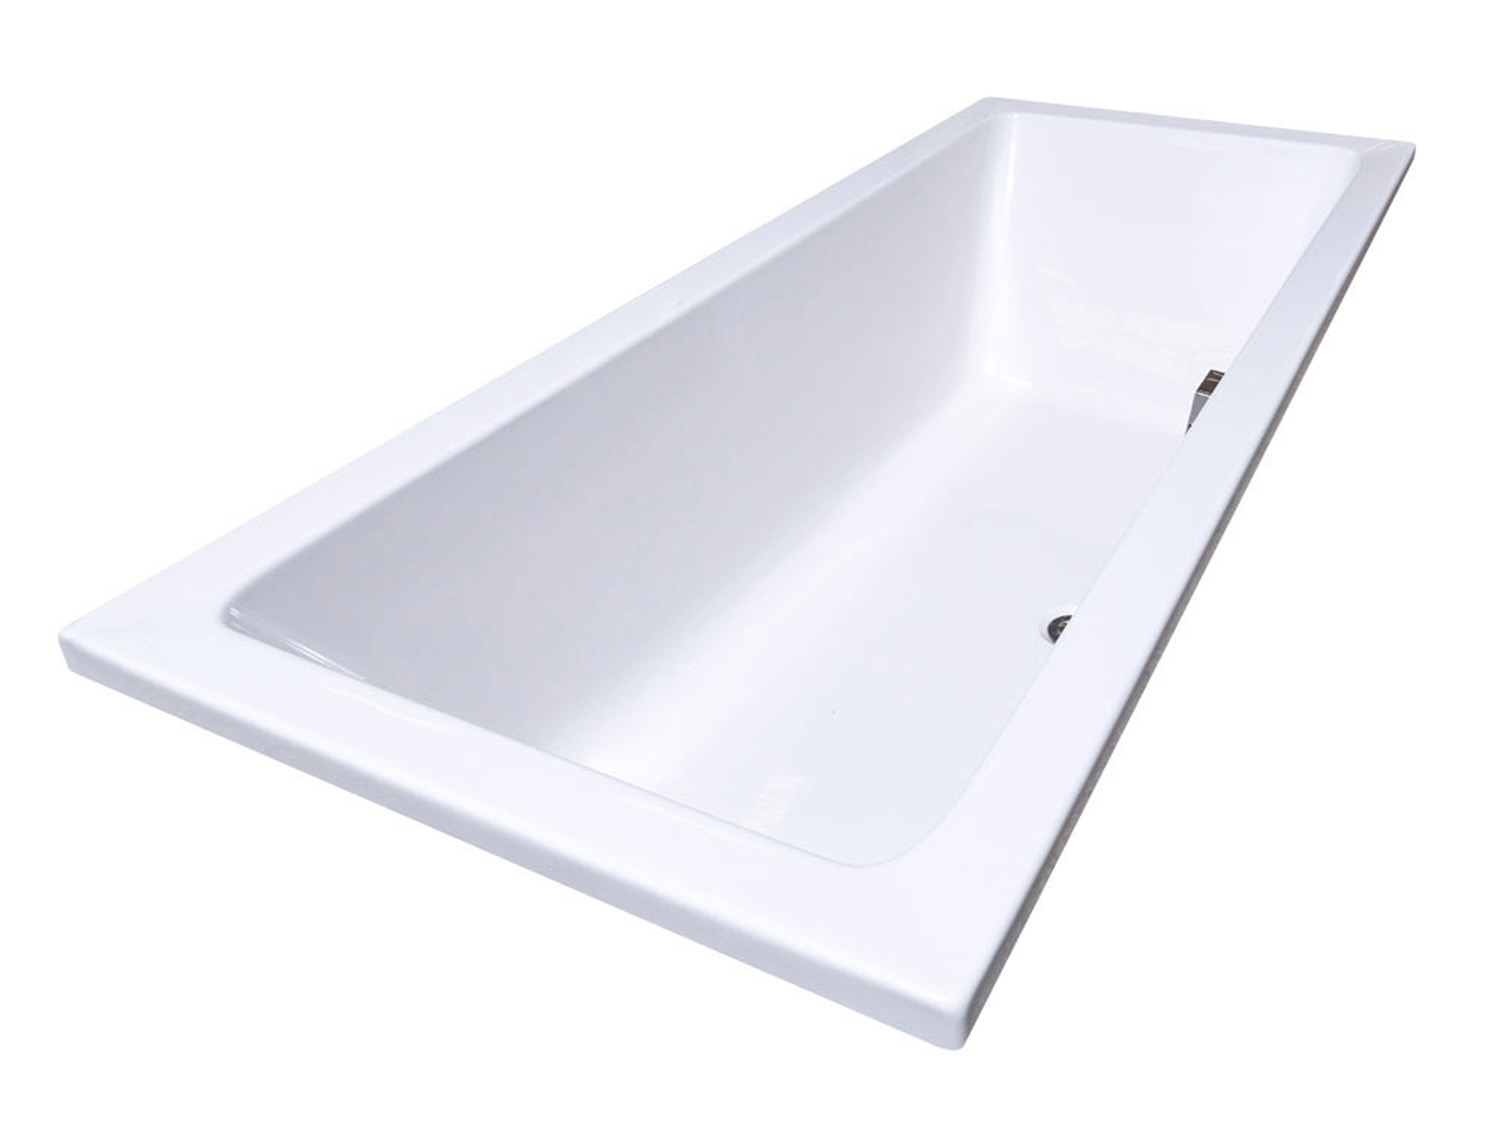
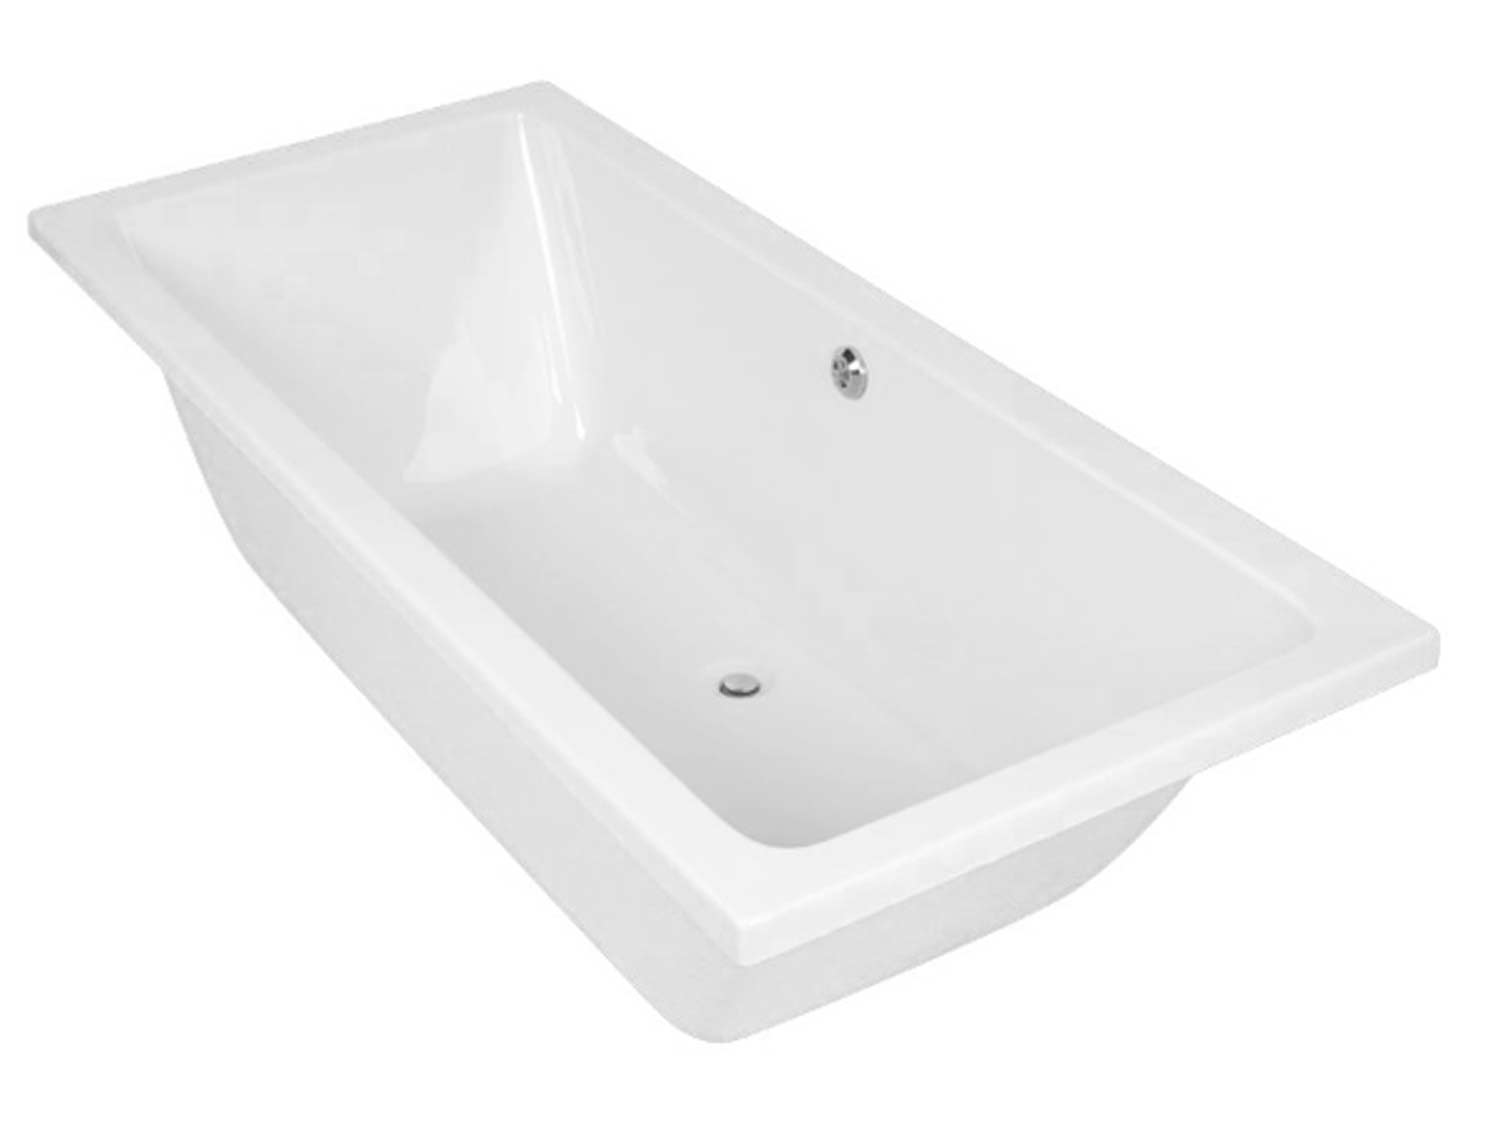
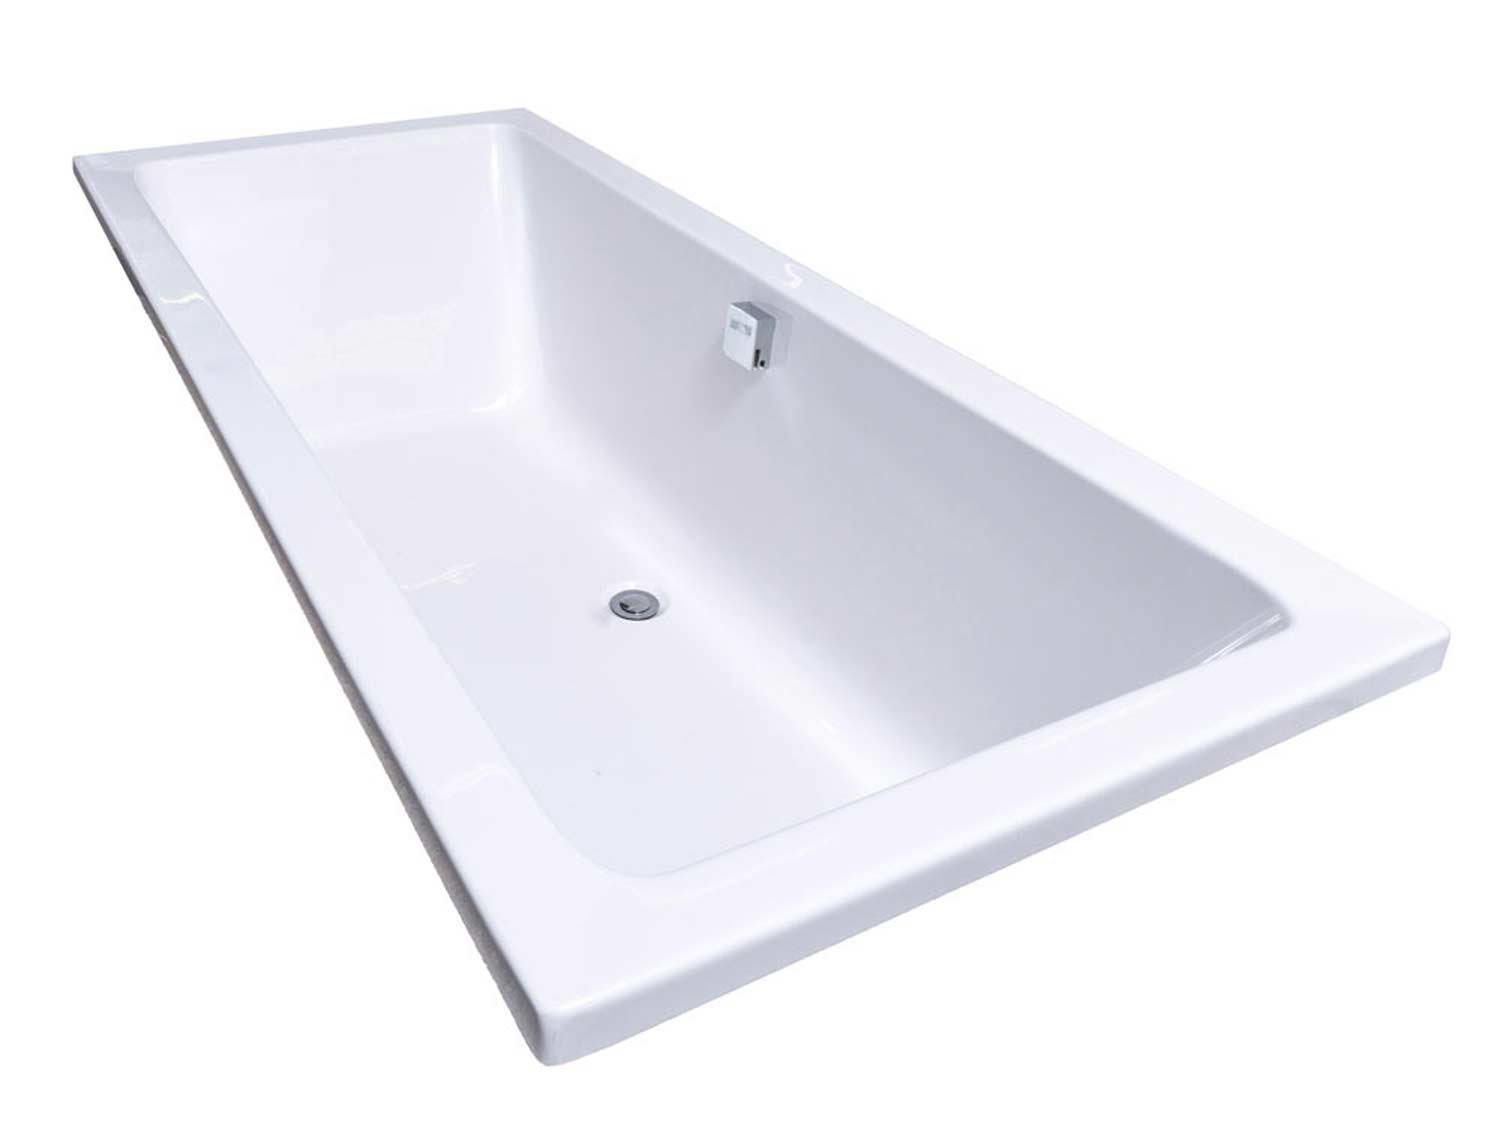
Duna White Built-in Straight Bath - 1700 x 750mm

- Slightly deeper and wider than average, the Duna Bath is all about comfort
- Lines and angles are the key feature of the design, making this a must have for your modern space
- The Duna bath is also available in a longer length
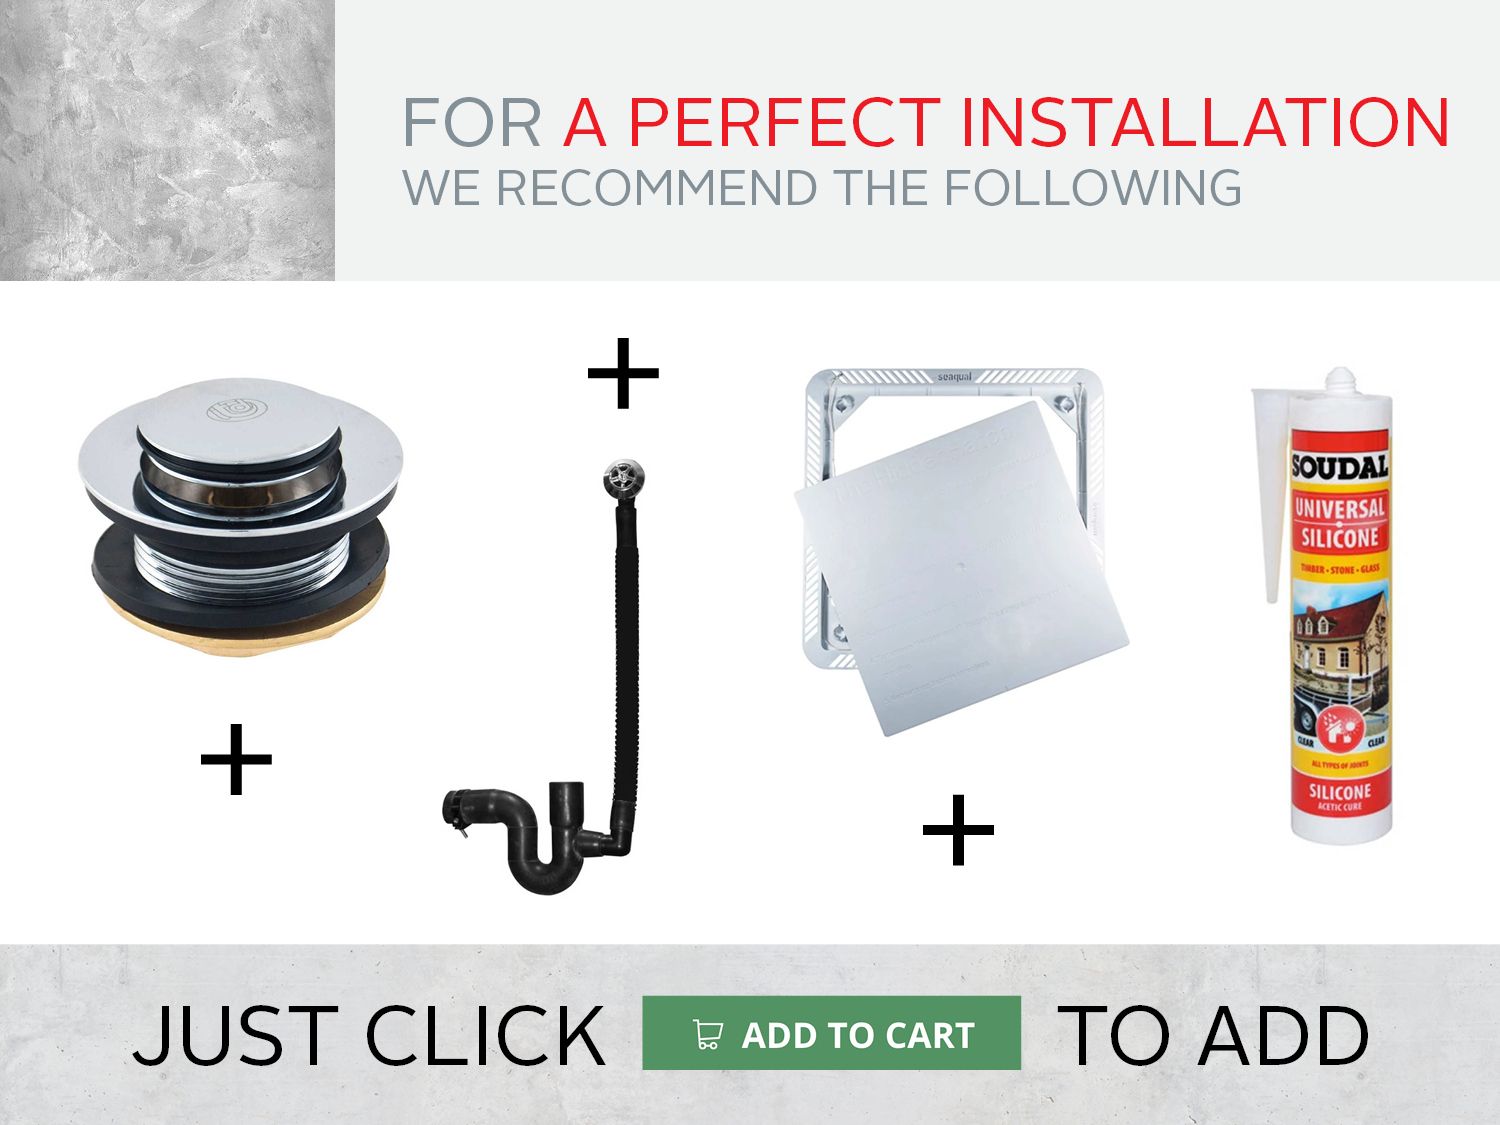
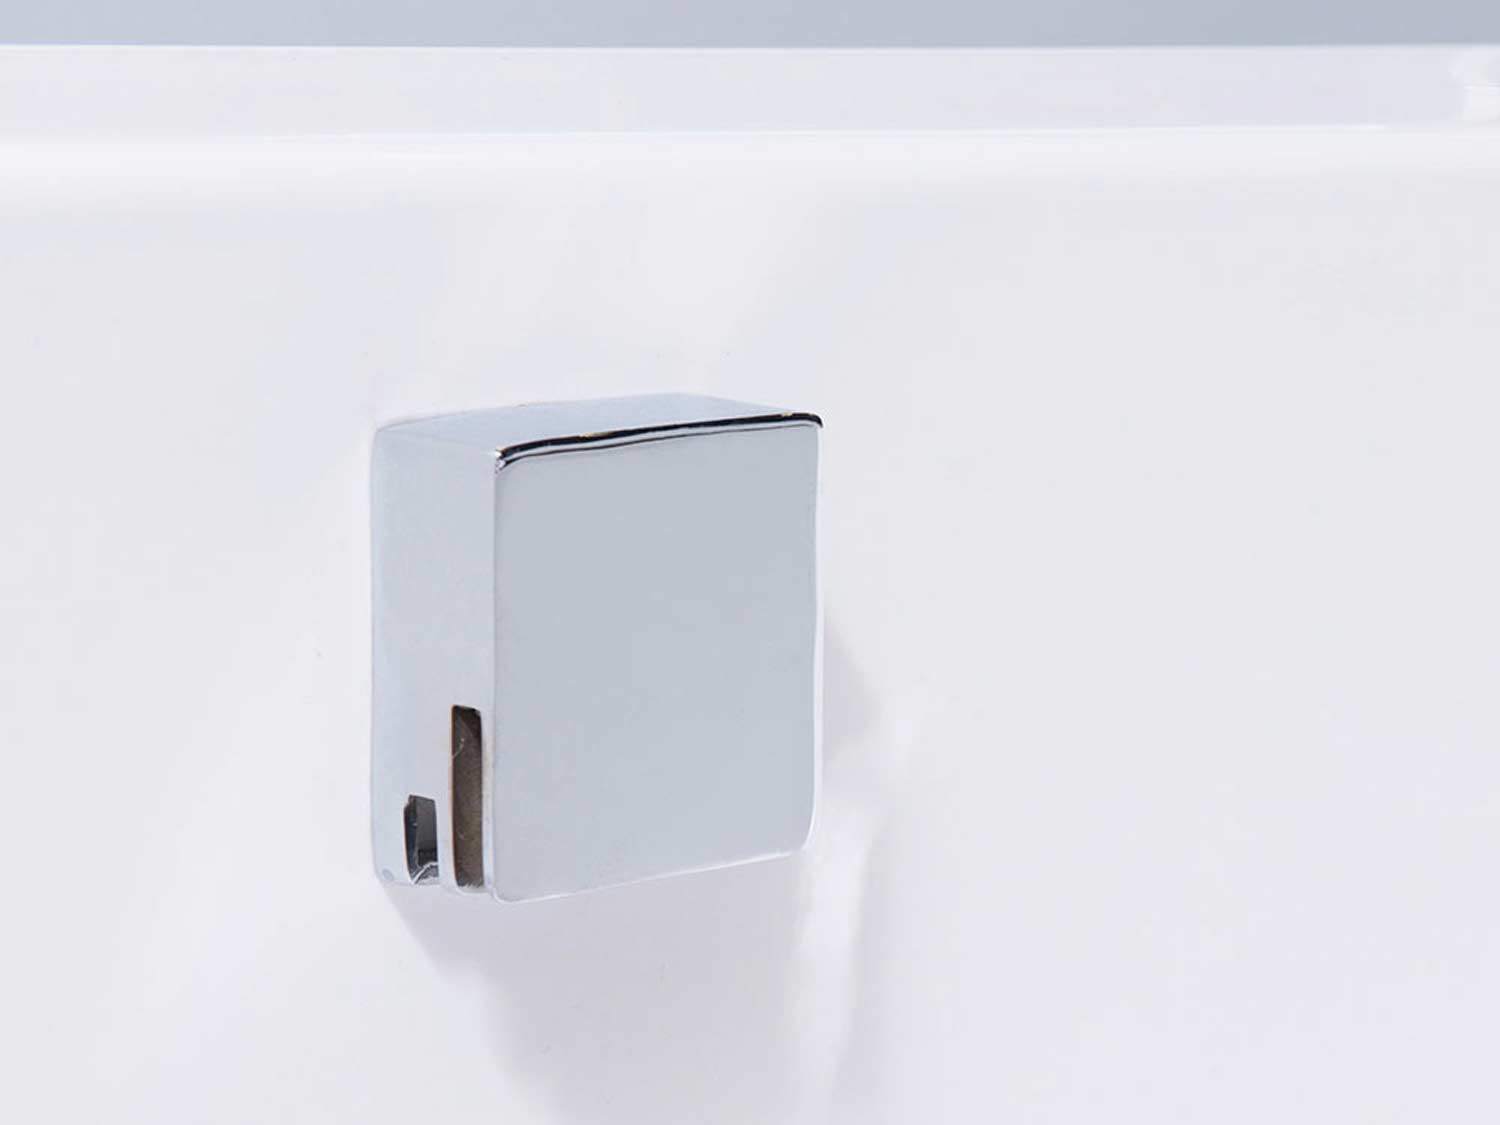
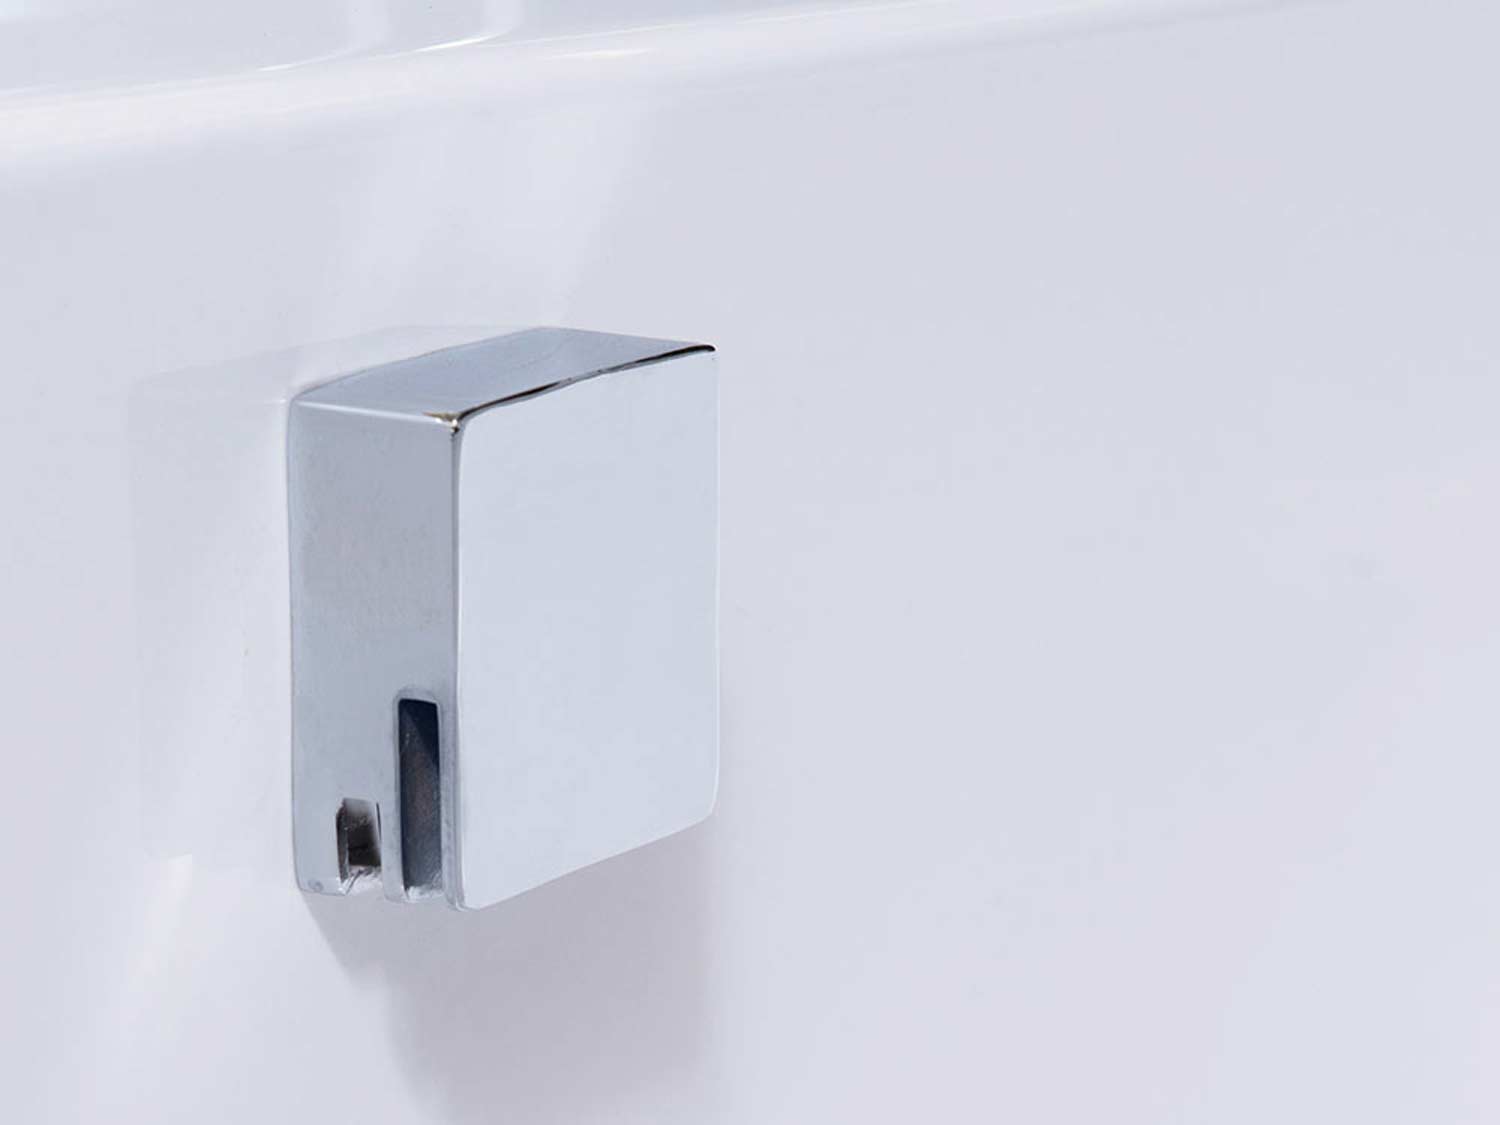
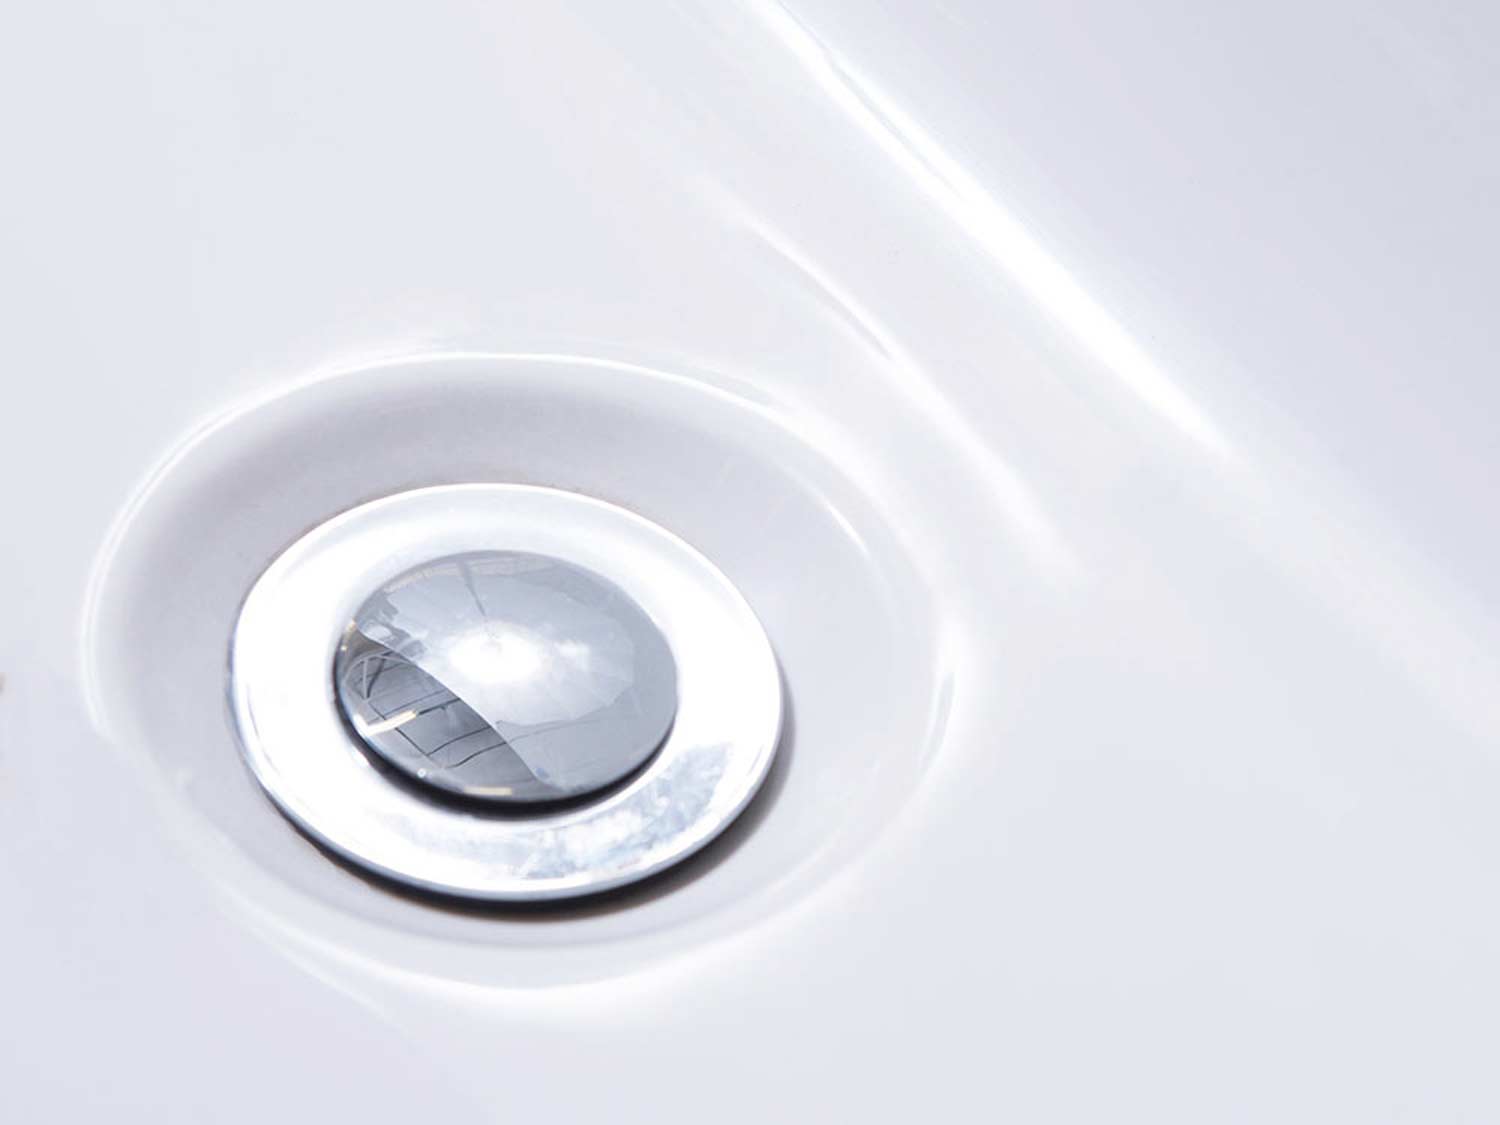
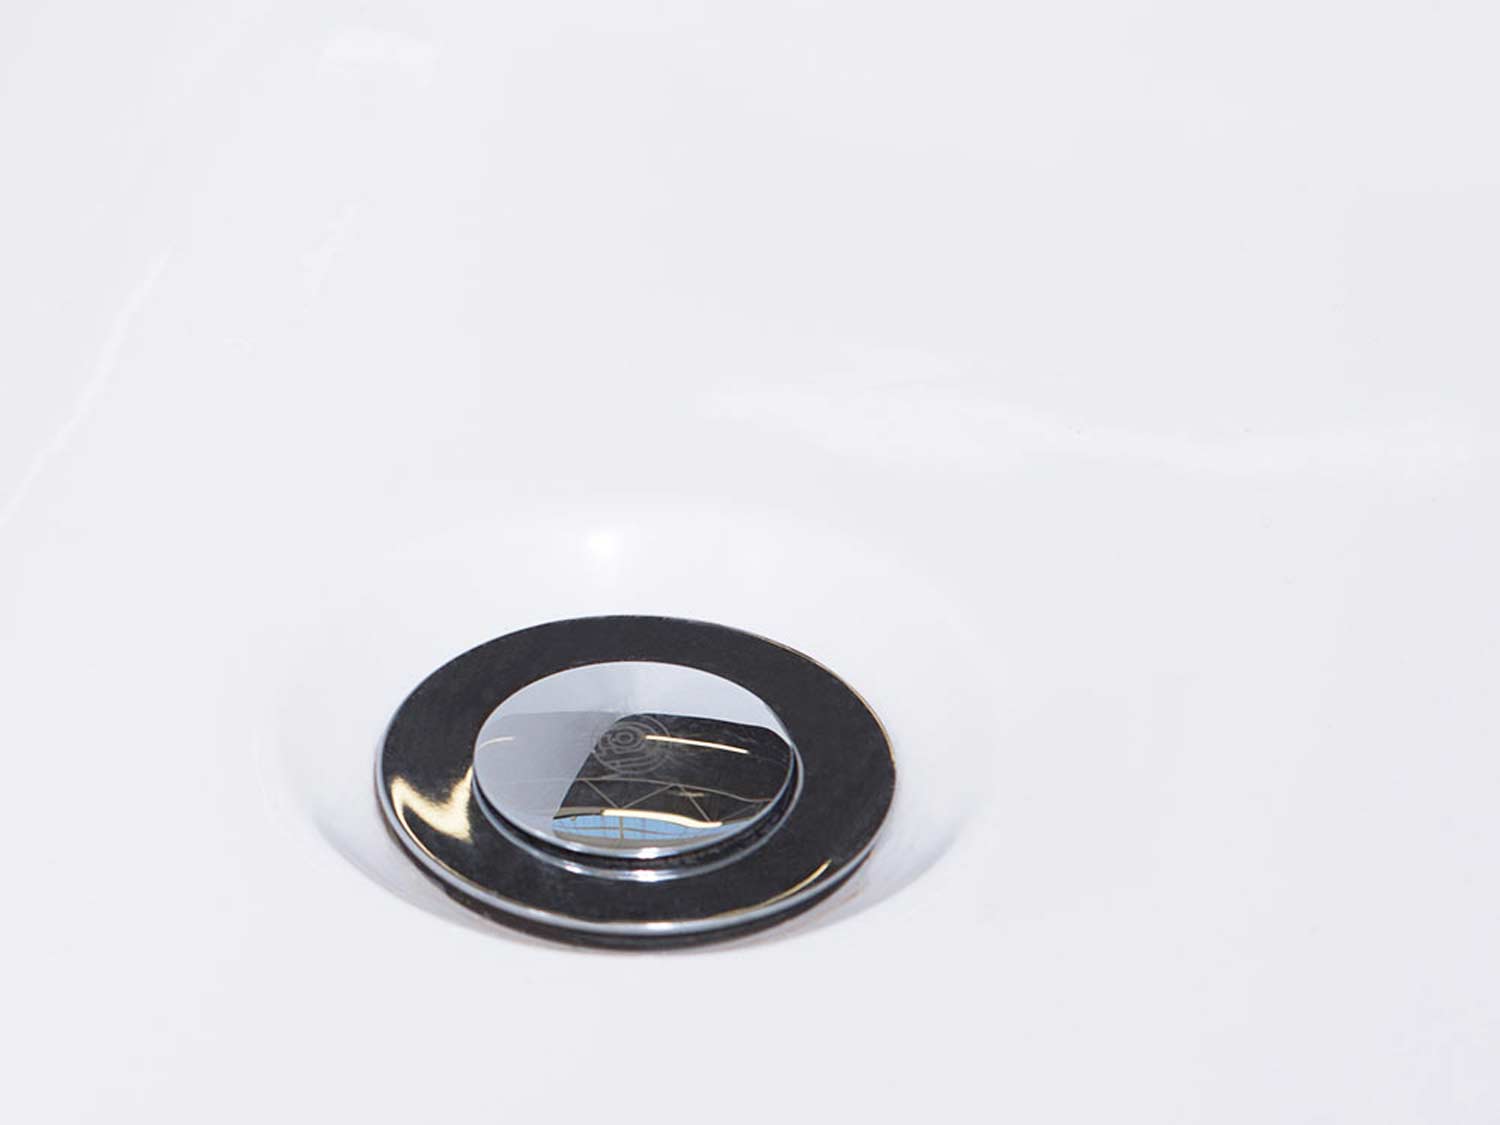
- Finish off your bathroom by adding wall-mounted taps and a discreet Pop-Up waste
- The bath has a high gloss surface, which will not stain, rust or corrode
- Due to its smooth finish, the bath is very easy to clean
- Perspex is warm to the touch, this mean it is a good insulator of heat and will keep your water warmer for longer
- The bottom of this bath is strengthened and reinforced by a 6mm super-wood board
- We are so confident about this bath that we offer a 5-year warranty on the Perspex against any manufacturing defect
- This bath must be cleaned with a non-corrosive and non-abrasive cleaning agent, to ensure that your bath retains its smooth finish
- To avoid the warranty becoming null and void, please have your bath installed by a professional, certified plumber
- Taps and accessories sold separately
Product Specifications
| Brand | Betta |
|---|---|
| Colour | White |
| Type | Built-In Bath |
| Depth | 450 mm |
| Height (mm) | 470 mm |
| Length (mm) | 1700 mm |
| Width (mm) | 750 mm |
| Volume | 180 L |
| Waste Size | 52 mm |
| Overflow Size | 40 mm |
| Guarantee/Warranty | Guarantee |
| Product Weight | 17,15 kg |
1. Unpack Your New Bath
- Decide how high you want the bath above your floor.
- Measure and make markings on the wall with a pencil.
- It is recommended that it should be at least 450mm above the floor.
- Once you have marked the height, securely fasten support battens (a long flat strip of squared timber or metal used to hold something in place or as a fastening against a wall) against the back and sidewall.
- Make sure the battens are leveled horizontally.

2. Position Bath
- Position your new bath with the backside resting on the battens.
- Check that the bath is perfectly level again by using your spirit level.
- Make sure area under the bath is clear of dirt and tools.
- Take care not to damage bath exterior during positioning.

3. Add Bricks and Cement Underneath
- Place three equally spaced rows of bricks, with ample cement, under the reinforcing ribs of the bath.
- This will support the underside and full weight of the bath.
- Check that the first row of bricks is as close as possible to the waste fitting.
- Check that the openings and sides are now level with the ends of the battens placed.
- Install your taps, waste pipe and plumbing fittings, if you have not already done so.

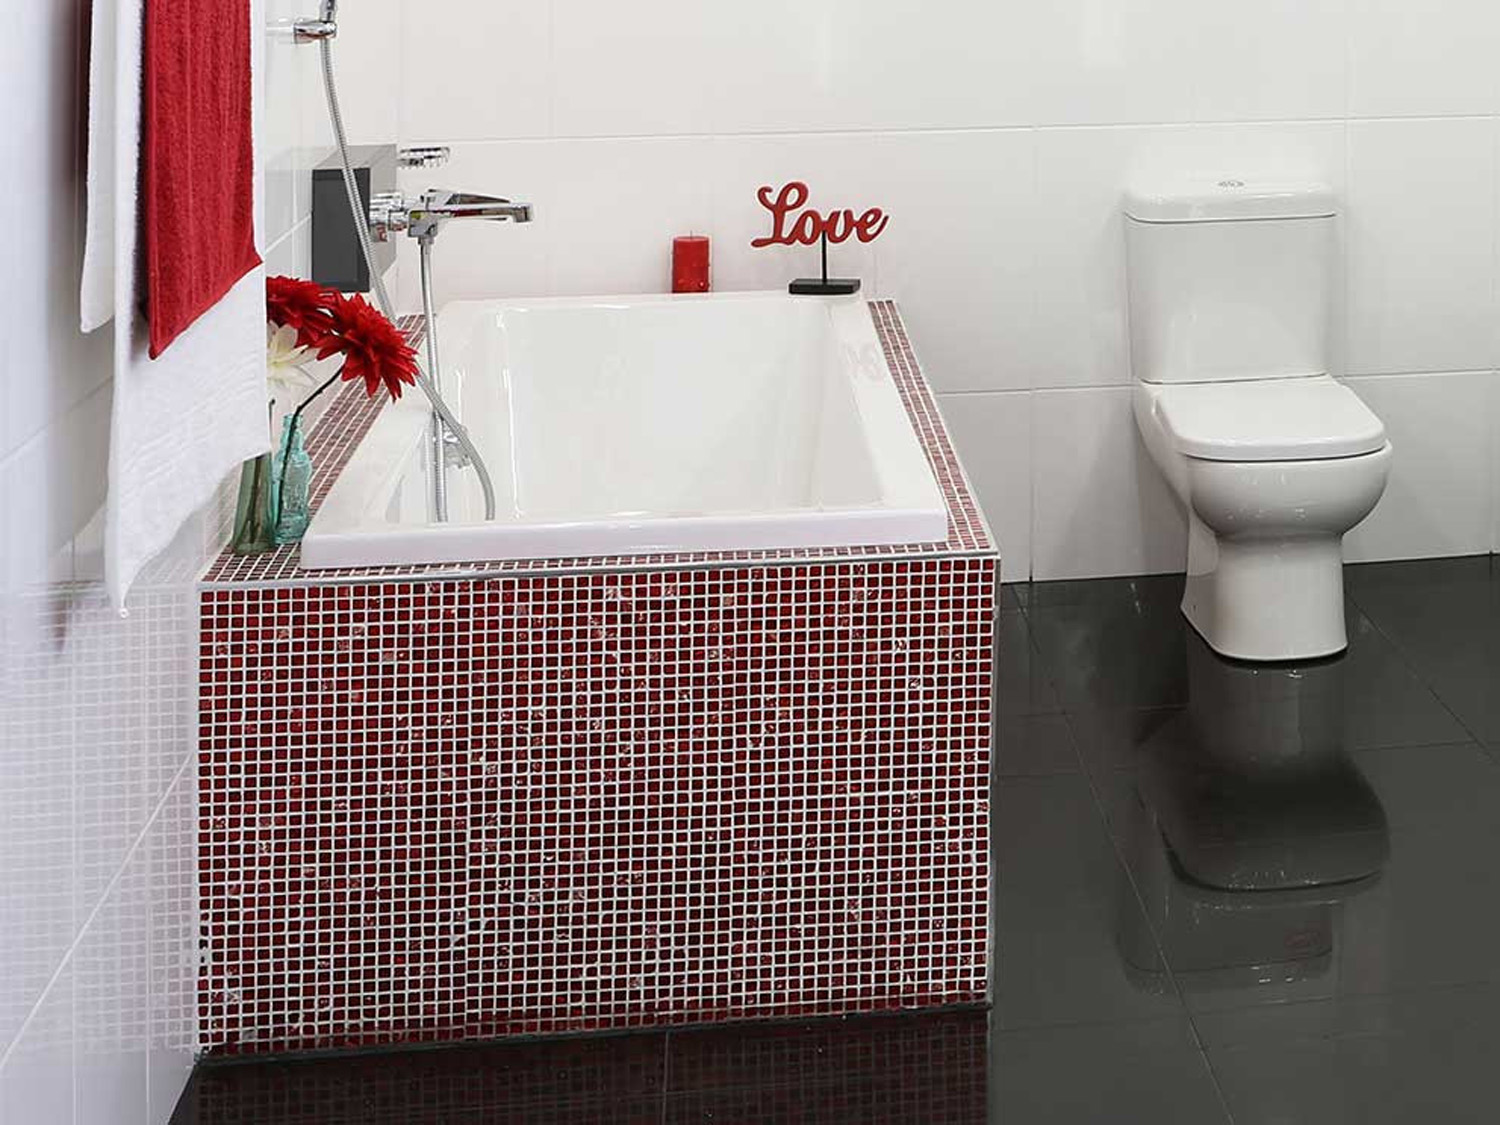
4. Complete The Frame
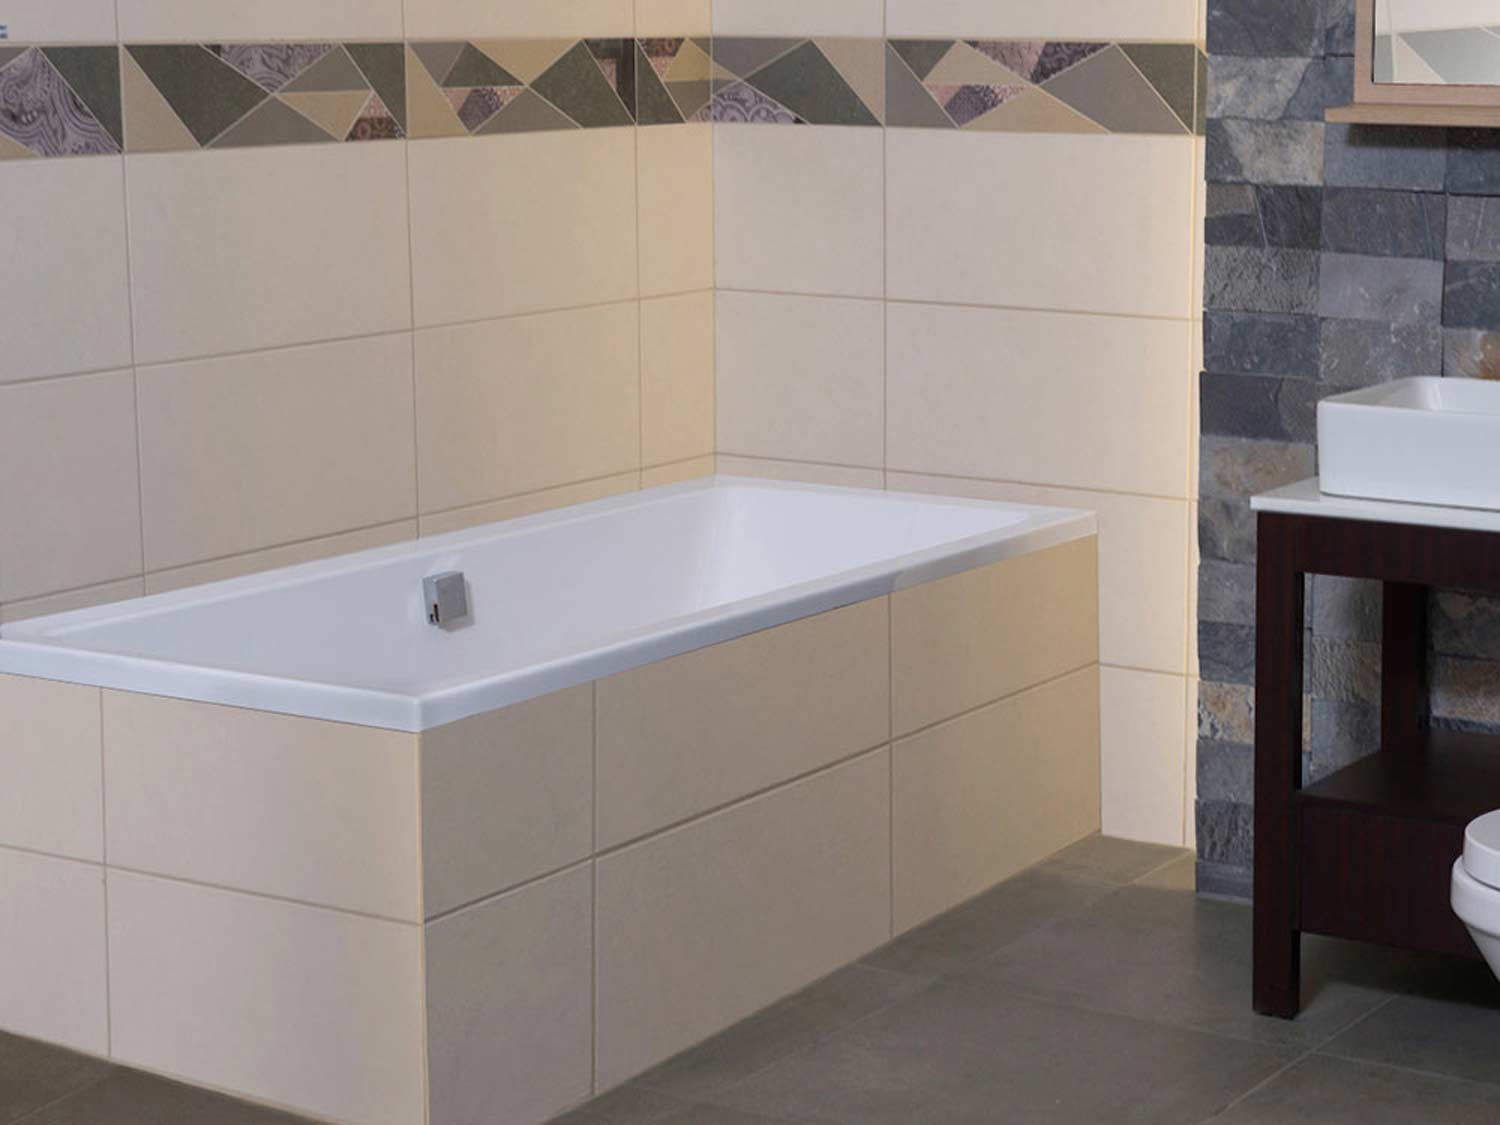
- The outside of the frame is often tiled with tiles or mosaic to create a cohesive bathroom design.
- Make sure to leave an access area or door if you are installing a whirlpool tub (for future repairs and maintenance).
- You can finish the frame with any materials that work with your requirement.
- Allow 24 hours for the sand and adhesive to set and dry completely.
- Open the taps and fill the bath with water slowly while constantly checking the waste outlet and water inlets for any leaks.
Note: The above is just a quick guide. If you are unsure about the installation than you can seek help from a qualified plumber or contractor.


Ready when you are!
Buy Online and we will reserve and pack your order to ensure a speedy collection at your local CTM store. We offer free collections at all our CTM stores countrywide.
Normally, orders will be ready for collection on the same day payment is made and confirmed. For all cheque payments, your order will be processed and dispatched once the cheque is deposited and clears. See all our payment options here.