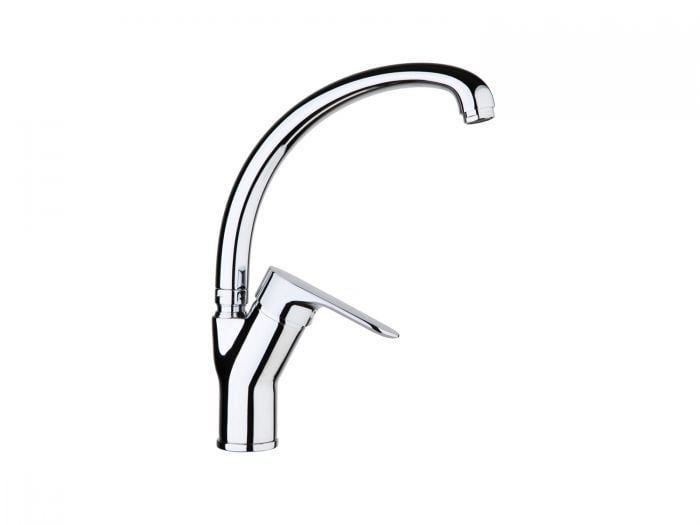
Tivoli Pavia Chrome Spring Sink Mixer Pillar Type

With Spring Retractable Hose
SKU
WTSBW17814

Tivoli Pavia Chrome Spring Sink Mixer Pillar Type

With Spring Retractable Hose
SKU
WTSBW17814
Special Price KES 33,944 was KES 36,499
Click “Add to Cart” to view your quote | order
Online Shopping with CTM is Safe & Reliable
About

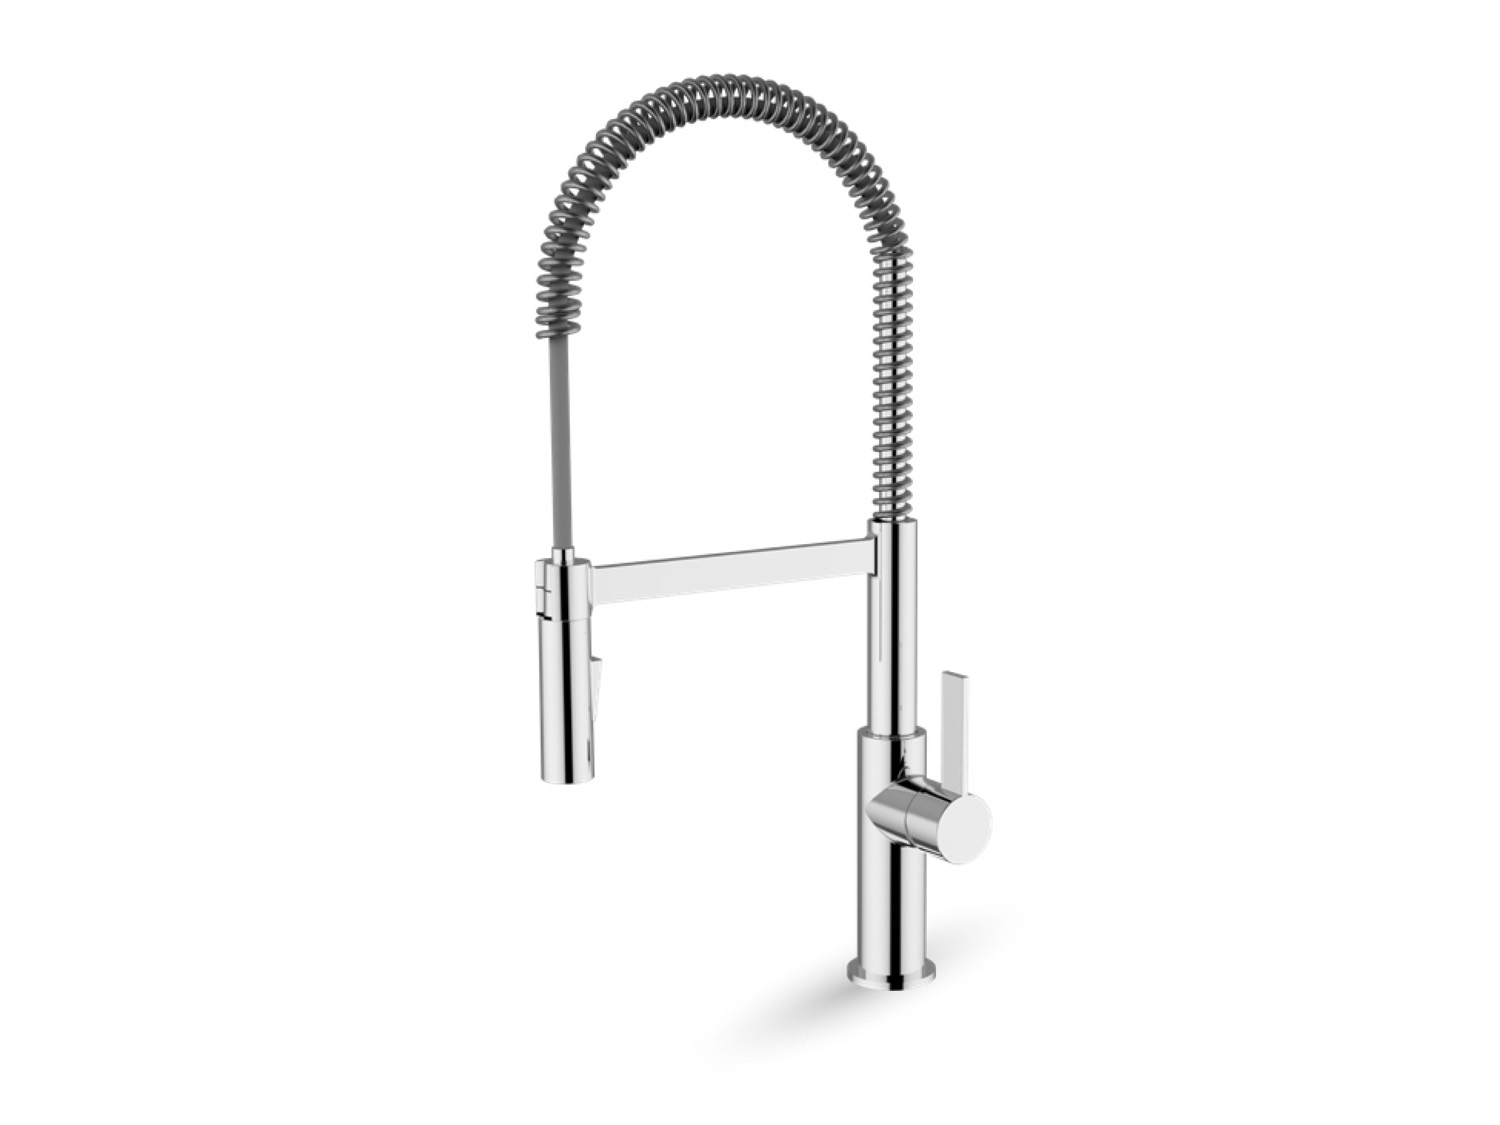
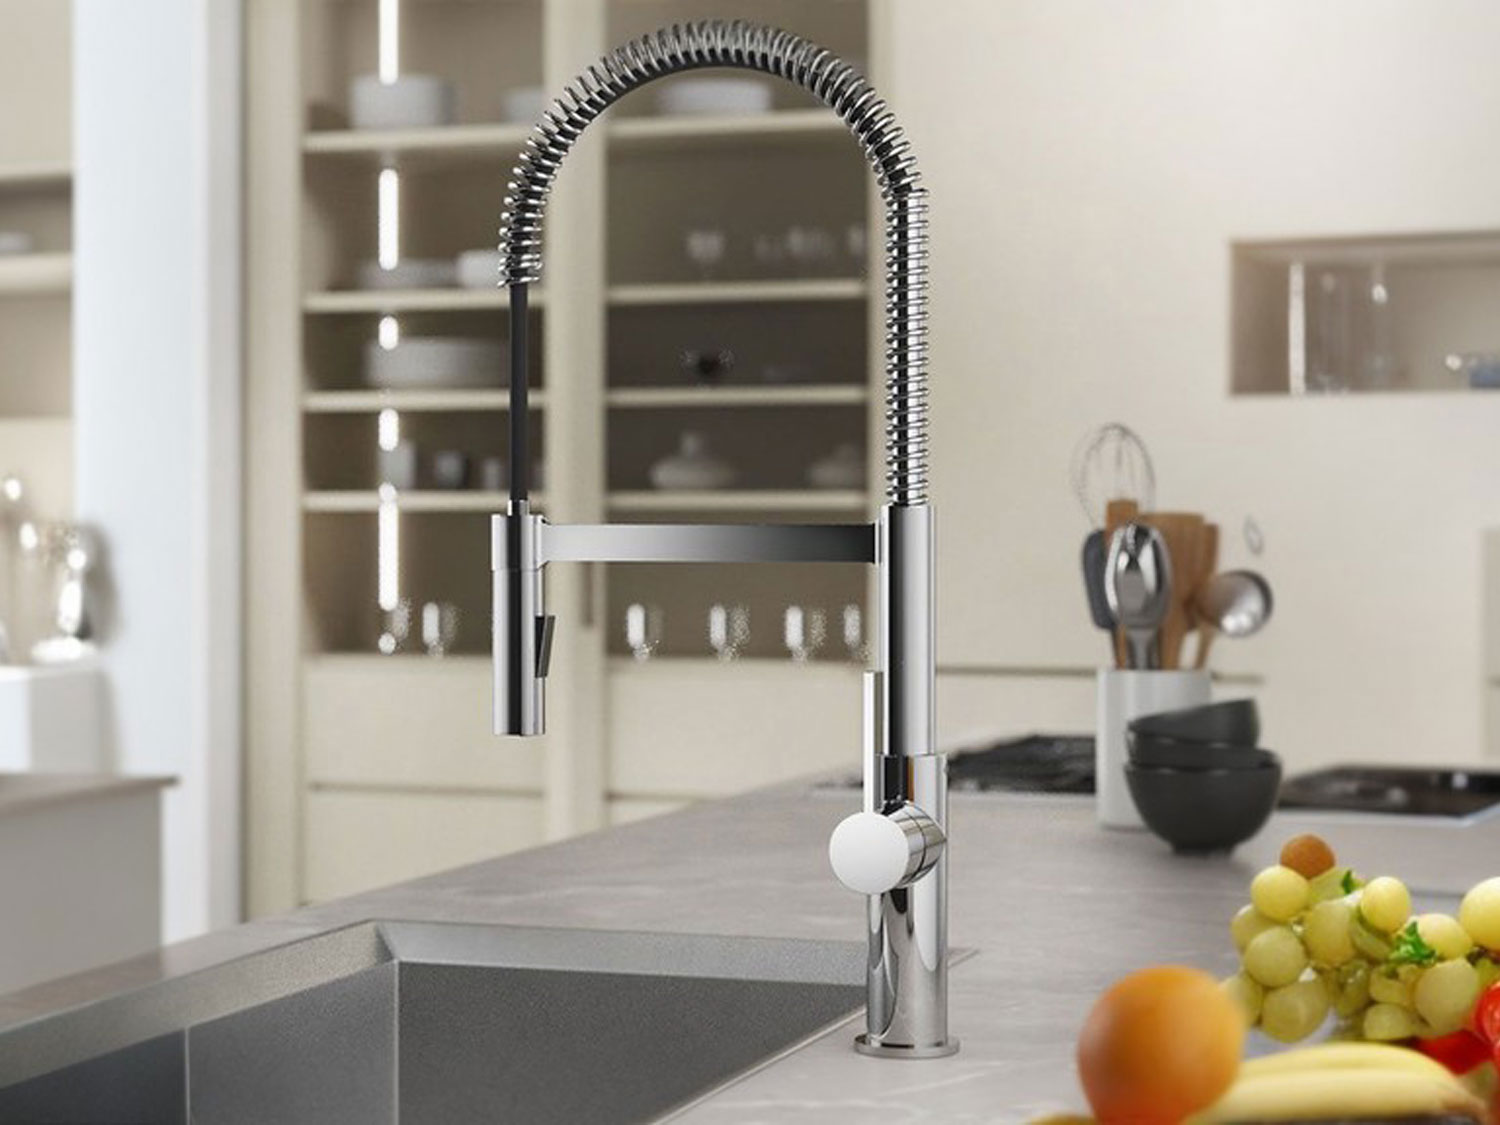
This Pavia kitchen mixer provides you the ultimate in features and style. Its contemporary industrial design is usually found on commercial taps with modern sophisticated design & style.

Even though the kitchen is a work-place, many new home designs have the kitchen on display and open to living areas. Therefore it is important to select a mixer that performs its role with ease and provides a stunning complement to your kitchen decor.

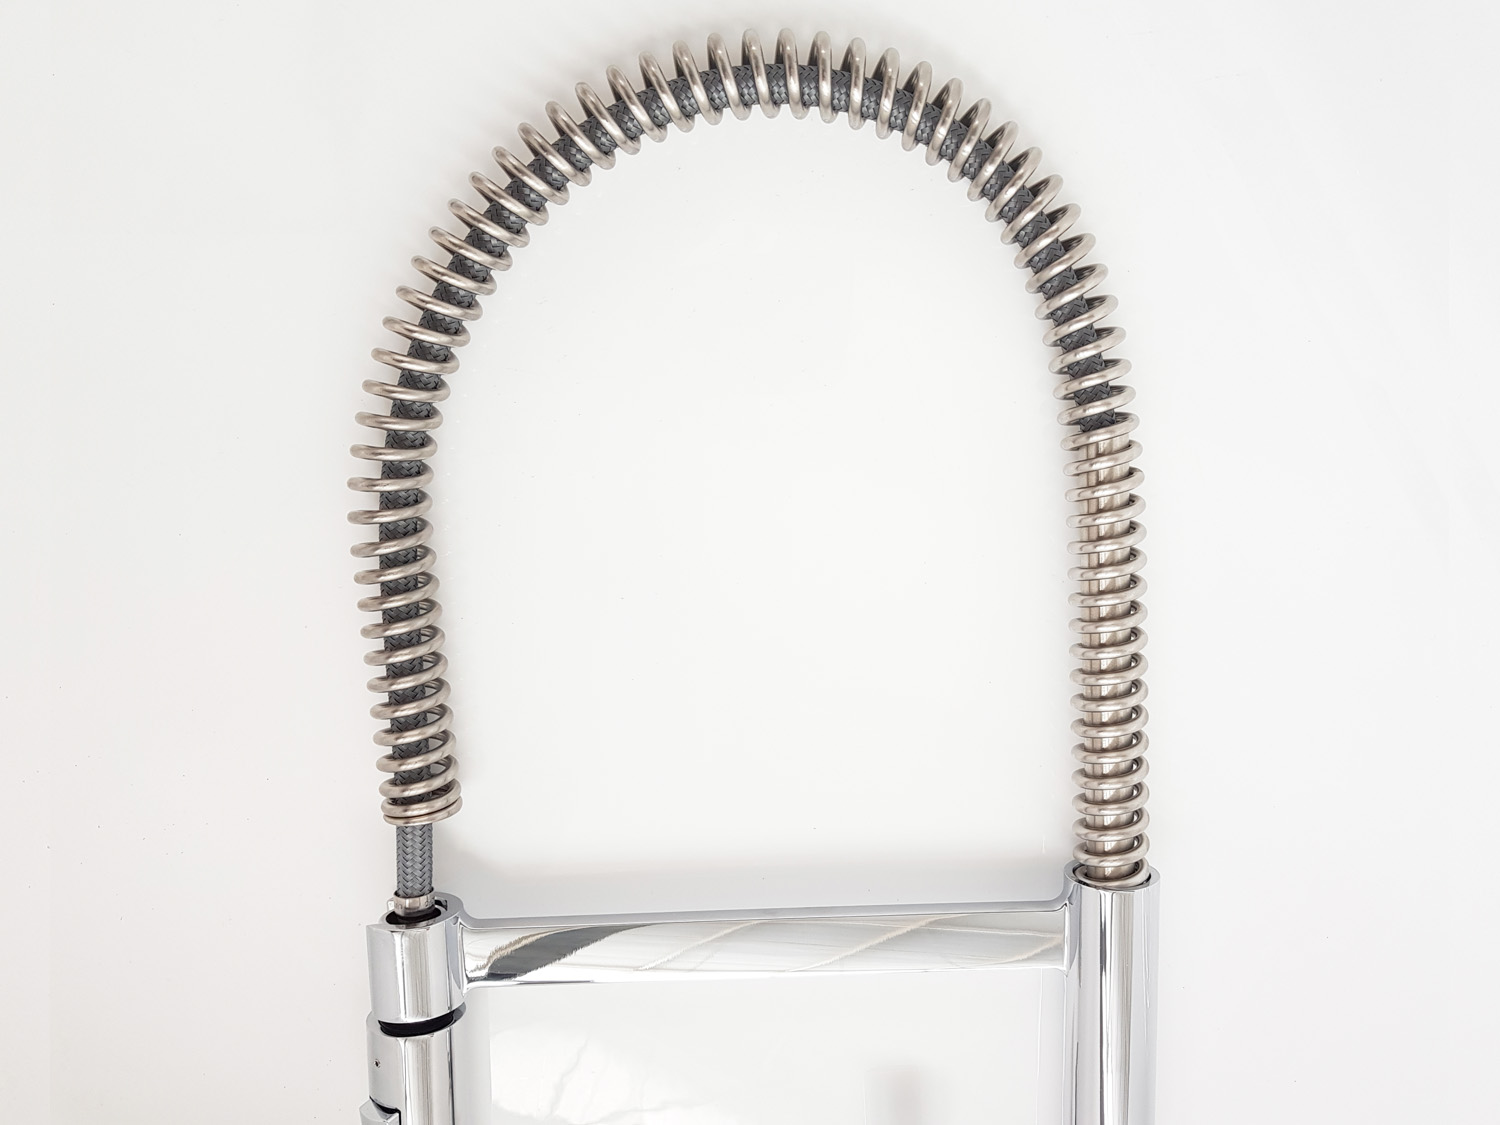
The tap head detaches from the holder to enable you to direct the water flow in a specific direction with the flexi hose. Preferably used with large sinks, the spring enables easy retraction of the hose and helps prevent water spillage.

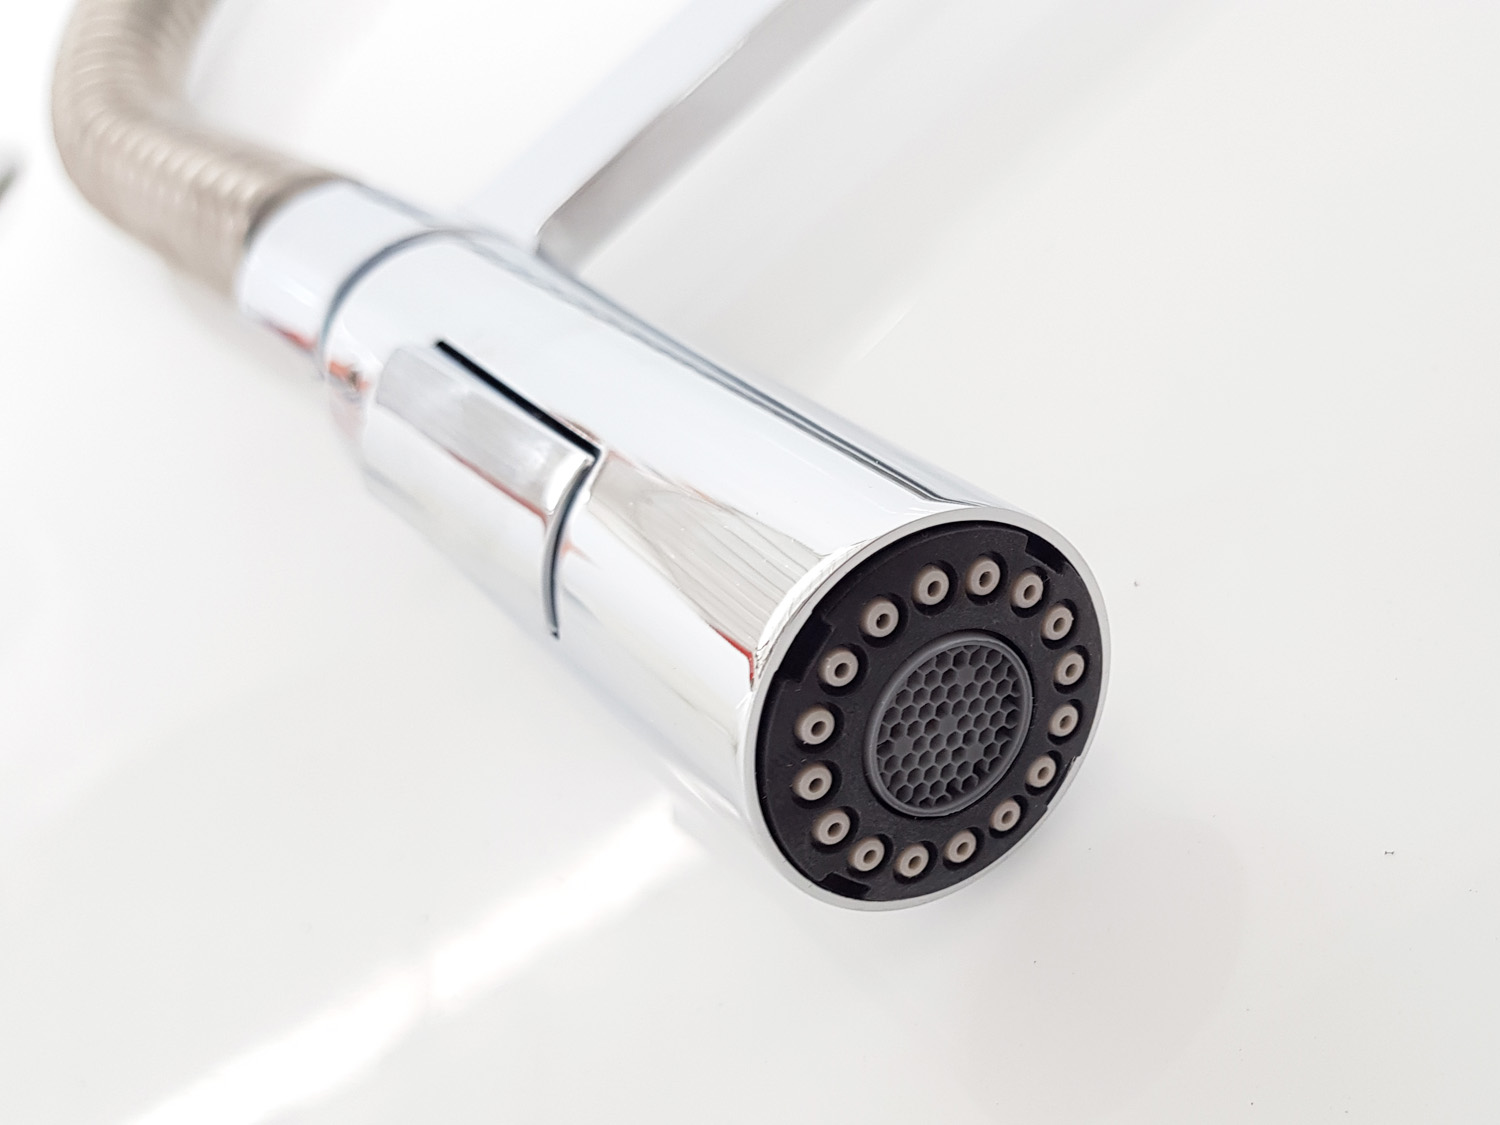
The tap head has two water functions during operation - spray and a direct flow. These are controlled by the button on the head.

To avoid any disappointments with your Pavia Sink mixer please ensure that you have balanced water pressure in your home.

Features:

  • Available in Polished Chrome with a silver spiral spring hose.
  • 360° swivel spout.
  • Minimum 1 bar water pressure.
  • Ceramic disc technology for improved performance and longer life span.
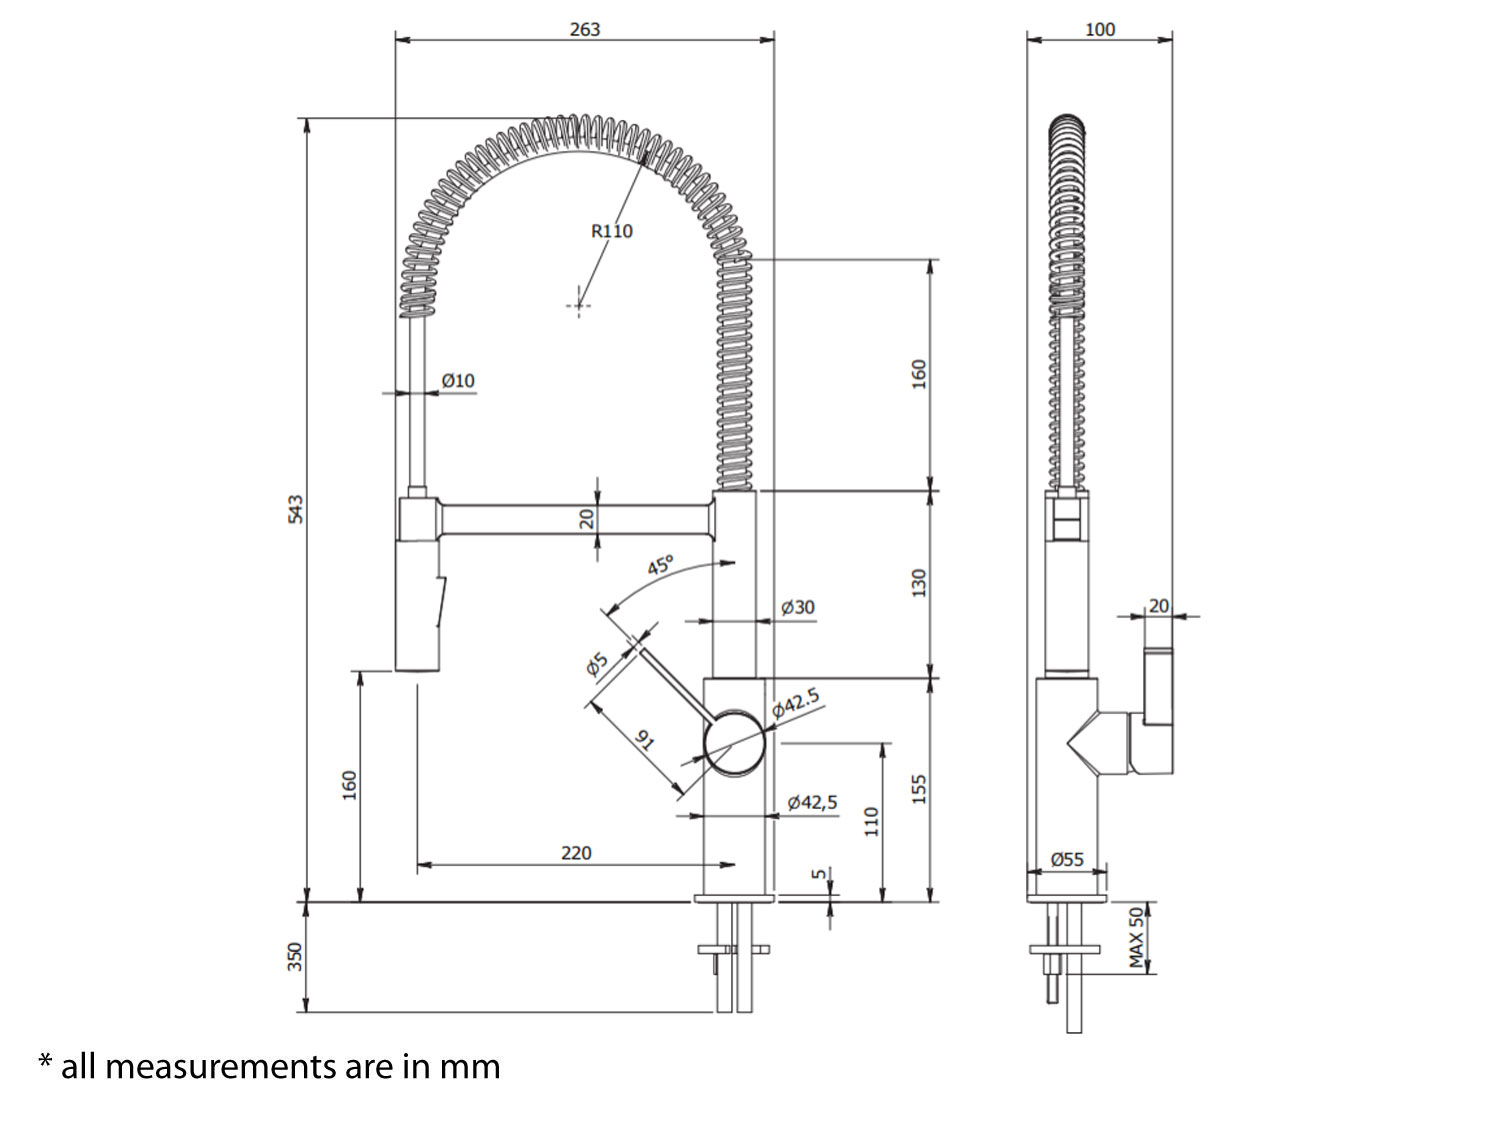
  • Height - 543mm.
  • Projection - 263mm.
  • Mounting hole diameter - 55mm.
  • Includes all fittings and two flexi connectors to connect to the hot and cold water outlet.
  • High-arched spout for easy filling & washing of tall pots.
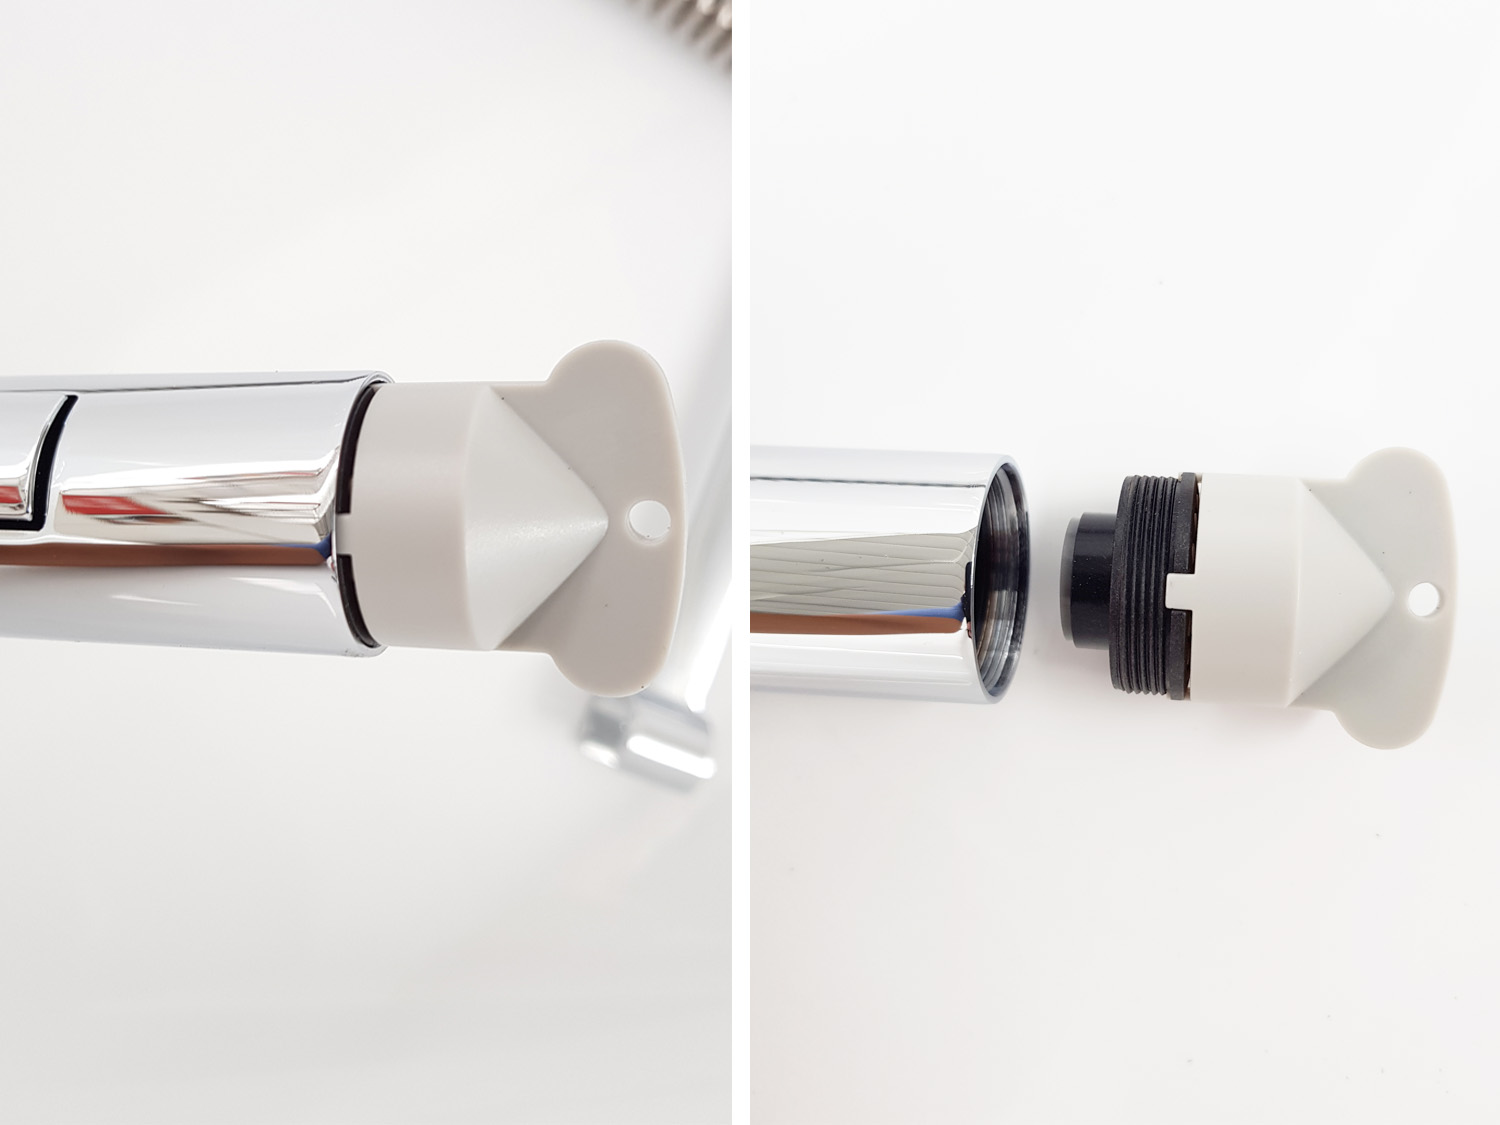
  • Includes a key to open the aerator for regular cleaning (see photo).

What is an aerator?

A spout aerator is designed to reduce the required flow of water, which will in turn reduce your water usage in the long run. Tap aerators have many tiny holes in them. This separates the water into different streams which allows air to mix with the water flow, creating a nice bubbly champagne flow of water and reducing the amount of water you need to use.


10 Year Guarantee On The Body 10 Year Guarantee
Exclusive To CTM Exclusive To CTM
Water Saving Feature Water Saving Feature
Easy To Install Easy To Install & Maintain
Cold Start Cartridge Eco Stop Cold Start Cartridge
Made in Italy Made In Italy

Step 1. Turn Off Your Water and Remove Your Old Tap

  • Before you remove the old tap, you need to first turn off the water supply for both hot and cold water from the kitchen mains supply.
  • Then, run the hot and cold taps in your house for a few minutes to drain any excess water and ensure the mains is definitely switched off.
  • Make sure all your taps remain open to prevent an air lock. If you have angle valves already installed than you can simply switch these off and do not need to turn off the main water supply.
  • Get under your kitchen sink and unscrew the nut that locks the sink to your old kitchen sink tap.


Step 2. Unbox Your New Tap

  • Once the old tap is removed you can unbox your new tap and remove all the accessories from the box.
  • Make sure you connect the flexi connectors firmly to your tap first, then feed into the sink hole, so your tap sits on top of your sink. This makes it much easier to install, with the flexi connectors poking out below.
  • There may be a rubber washer included with the tap to make sure the tap sits firmly. Screw the nut tightly onto the threads at the bottom. Make sure your tap is now gripped on to your sink and does not shake or wobble.


Step 3. Connect To Water Outlets

  • You can now connect the other end of the flexi connectors to the wall water outlets/angle valve. Keep in mind which connects to the hot and cold water.
  • We recommend you use plumbing tape for all threaded connection to help prevent future leaks from occurring at threaded pipe joints.


Step 4. Checks and Precautions

  • Make sure all the flexi connectors are not tangled or bent.
  • Close all connectors tightly and turn the water back on. Please connect the bottle trap to the popup waste if applicable.
  • Turn the tap on and make sure the water is mixing equally and water running smoothly.
  • Check all connections with the water running for any leaks.


Step 5. Installation Complete

  • Once the water is running and no leaks are found the installation is complete.
  • Make sure you use soapy water and a soft clean cloth for regular cleaning of your tap. We do not recommend to use any strong chemicals to clean your new beautiful kitchen tap.
  • Now you can enjoy your brand new kitchen mixer tap.


Ready when you are!

Buy Online and we will reserve and pack your order to ensure a speedy collection at your local CTM store. We offer free collections at all our CTM stores countrywide.

Normally, orders will be ready for collection on the same day payment is made and confirmed. For all cheque payments, your order will be processed and dispatched once the cheque is deposited and clears. See all our payment options here.