Rubi Delta Levelling System Wedges
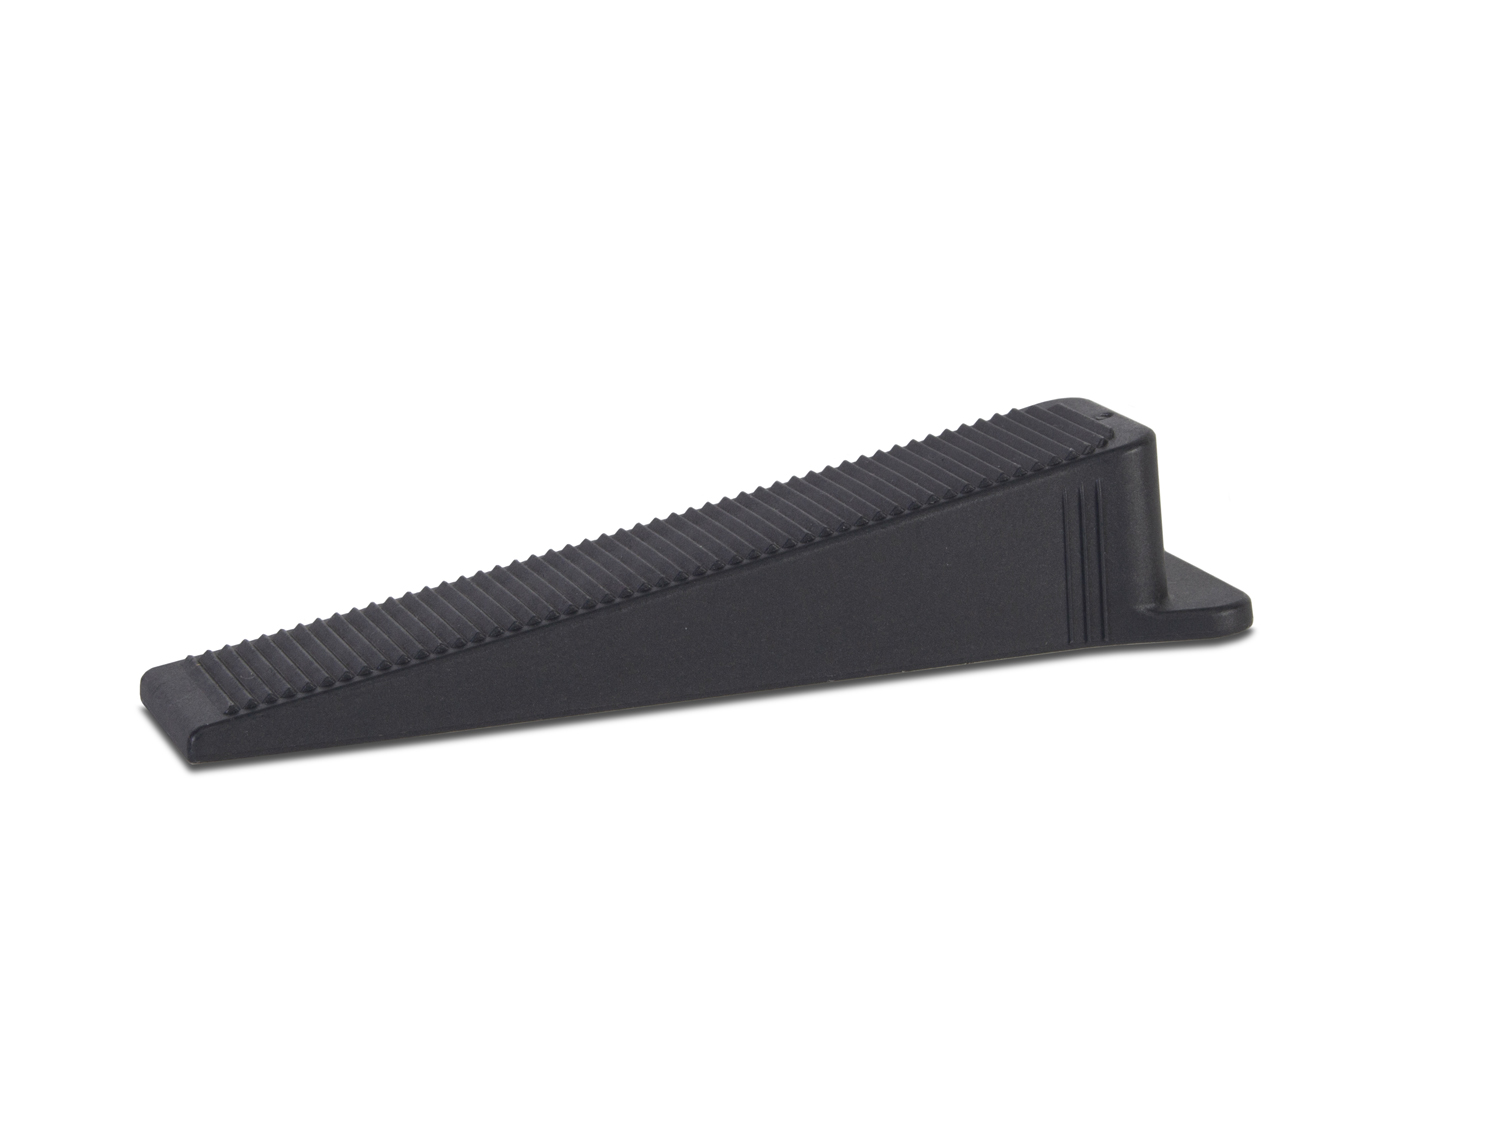


Rubi Delta Levelling System Wedges

The Tile Leveling System was developed to overcome the common problem that has baffled many DIY and Professional tilers. The problem of uneven tiles, as known as “tile lippage”. This system of interlocking levelLing clips and wedges ensures that your floor will be level from one tile to the next, and it also prevents tile for settling and warping as your adhesive cures/settles.
The method is easy to learn and you’ll enjoy the increase in tile setting speed which you’ll be able to achieve using this. It will also help you achieve a perfectly flat tiled floor and you’ll absolutely love the result.
Features
- Each packet contains 100pcs.
- Wedges are reusable and waterproof.
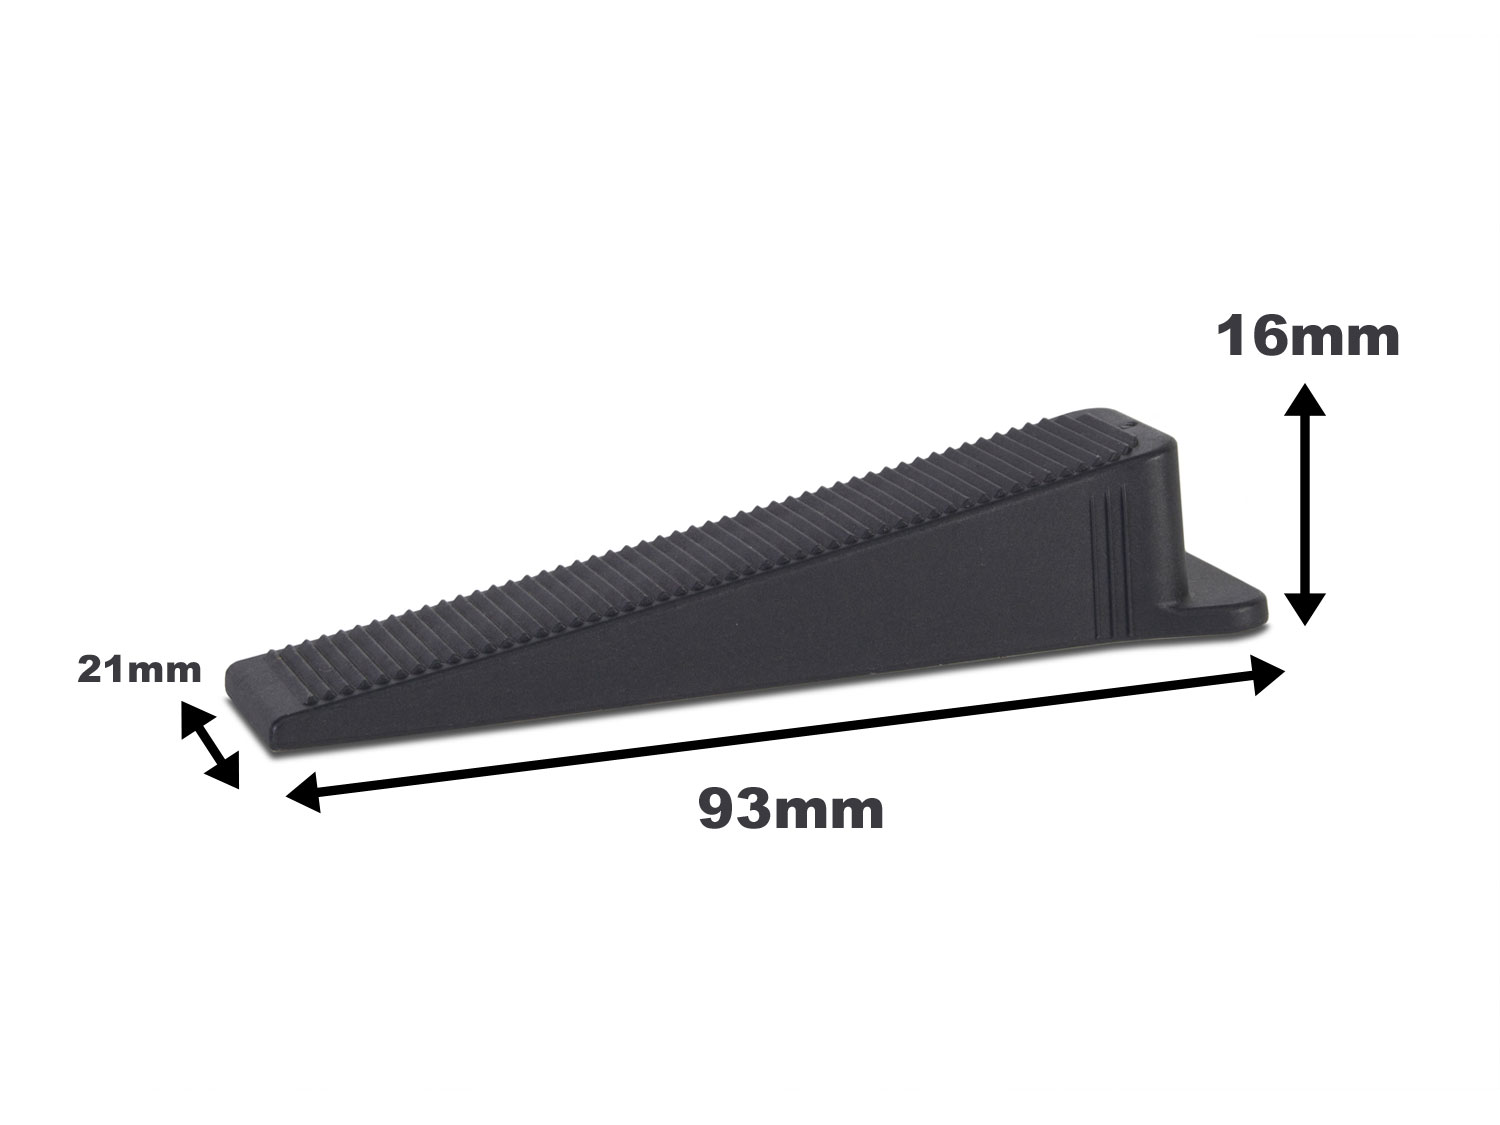
- Each wedge is 93mm (L) x 21mm (W) x 16mm (h).
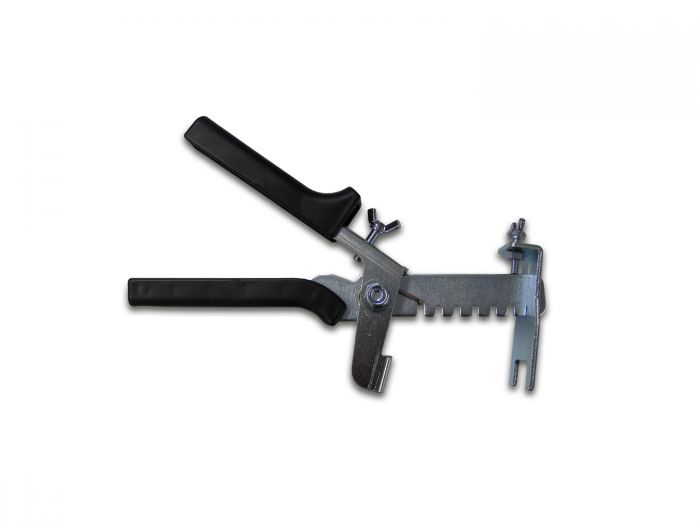
- Wedges are to be used with Rubi Delta Levelling System Strips and pliers.
- Easy to use and apply.
- The black color makes it easy to see the wedges on dark tiles.
Product Specifications
| Brand | Rubi |
|---|---|
| Type | Hardware |
| Colour | Black |

Ready when you are!
Buy Online and we will reserve and pack your order to ensure a speedy collection at your local CTM store. We offer free collections at all our CTM stores countrywide.
Normally, orders will be ready for collection on the same day payment is made and confirmed. For all cheque payments, your order will be processed and dispatched once the cheque is deposited and clears. See all our payment options here.
Introduction To Tile Levelling System
- Using Tile leveling clips and wedges are important for your contractor or fundi to use during tile installation as it helps prevent tile lippage and keeps your tiles perfectly level.
- Make sure you have purchased enough tile clips and wedges for the entire area.
- If you are tiling a large area over a few days then the wedges can be washed and reused from a previous installation which has set and is complete.
Tip: You still need to use tile spacers with your tile leveling system and should not be omitted.

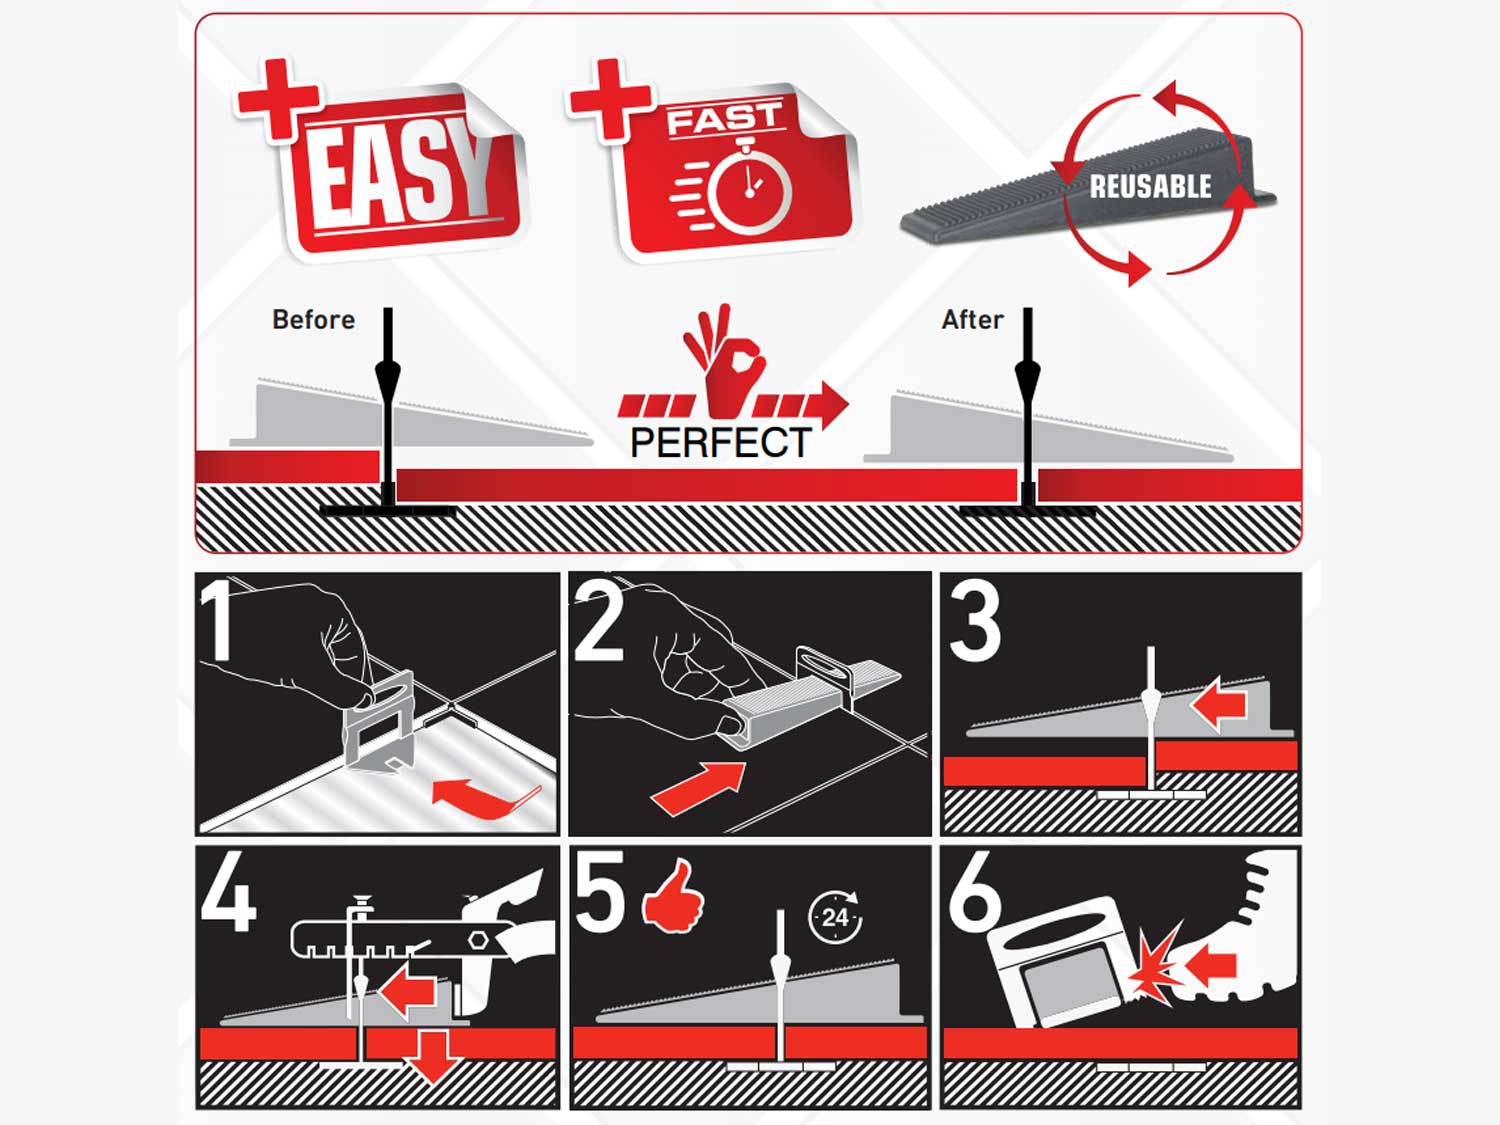
Start Your Tile Installation
- Spread tile adhesive on the floor or wall surface on which you wish to tile, make sure to keep trowel lines going in one direction only and lay tiles as usual.
- Slide a tile leveling clip underneath the tile until the base is sitting flush with the tile. Generally, four clips are recommended per tile. This is to ensure all four corners are flush with the neighboring tile. You may position the clips near the edges of the tile or in the center.
- For large format tiles like wood look tiles or porcelain tiles, you may use up to six tile leveling system clips per tile if needed.
- With another tile laid next to the tile with the clip, you can slide a wedge into the clip and use the adjustable pliers to crimp the wedge tight into the base.
Tip: Do not use too much force on the pliers when crimping the wedges to the clips.

How The Wedges & Clips Help Level Your Floor
- The general idea is that your wedge/base pushes any high tile edges down and makes a flat surface across the tiles. The tile leveling system also helps keeps the tile flush and smooth while the tile adhesive dries overnight, effectively eliminating any slump caused by large format or wood look tiles.
- Remember to add tile spacers right after you have embedded the tile and then fastened the wedge, this creates even spacing between the tiles.

Installation Complete
- Once the adhesive has set, you can use a mallet or the tip of your boot to knock the disposable clips away, thus creating a clean grout joint without any protrusions.
- The wedges can be cleaned and stored away in a container for the next job.
- Now that all the wedges and clips have been removed you can sweep the floor and start the grouting process.
