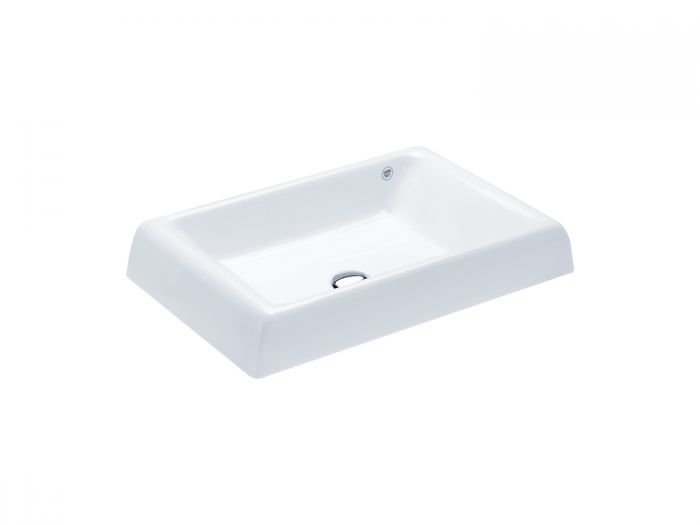
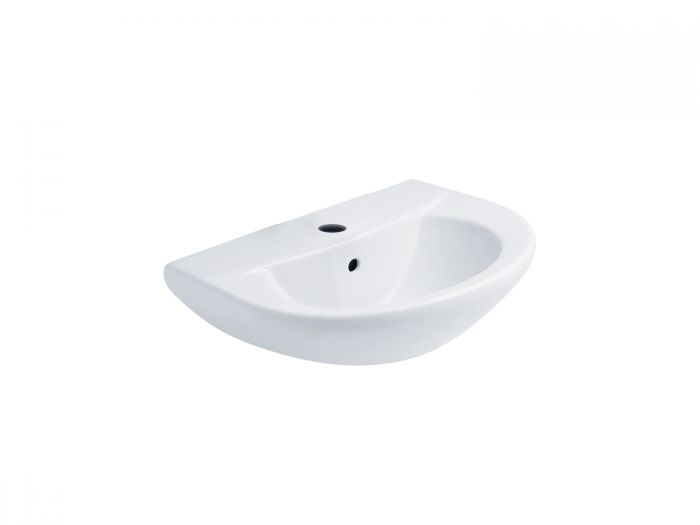
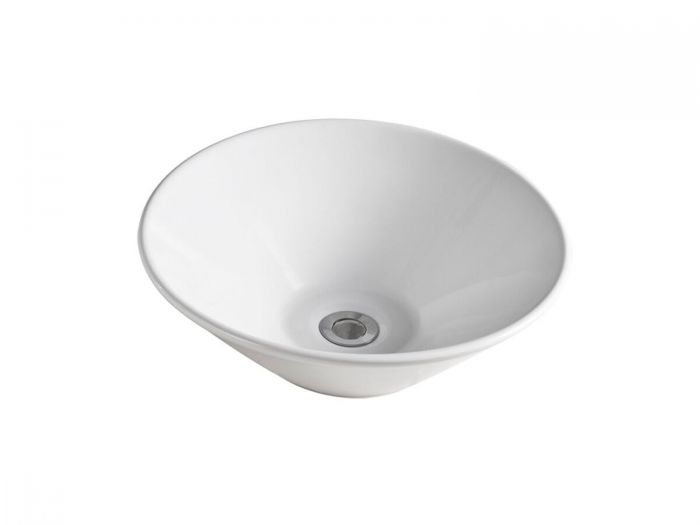
COTTO Serena White Drop-In Basin - 640 x 520 x 220mm
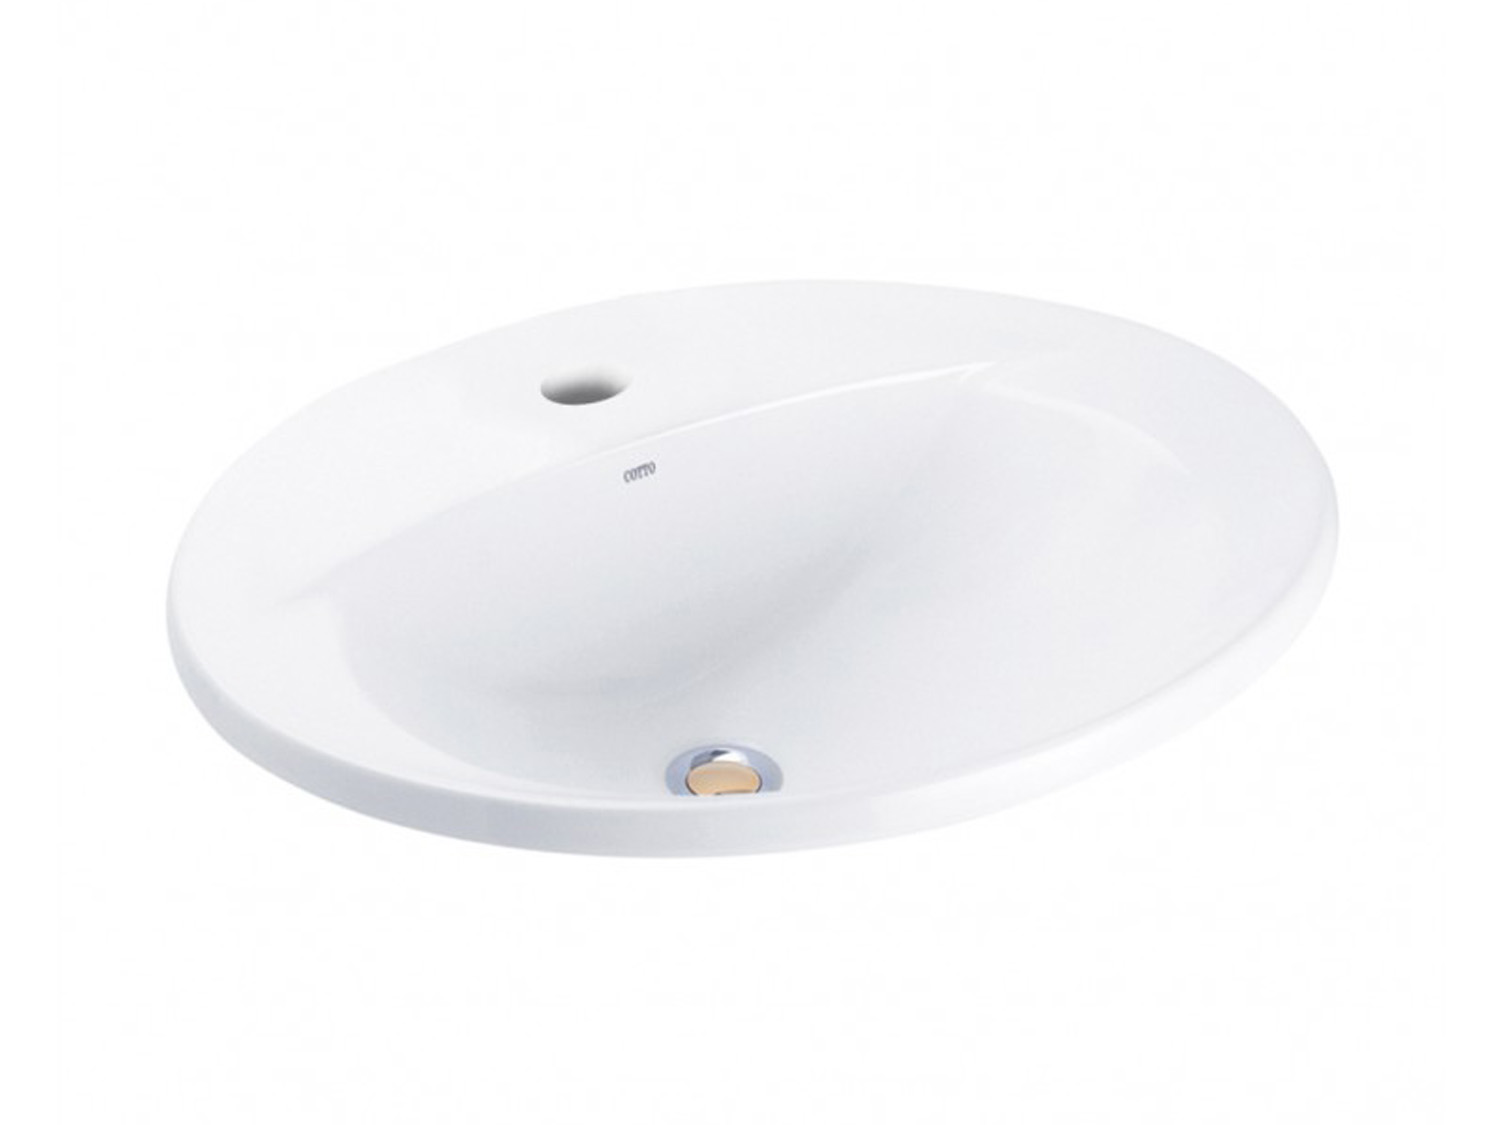
COTTO Serena White Drop-In Basin - 640 x 520 x 220mm

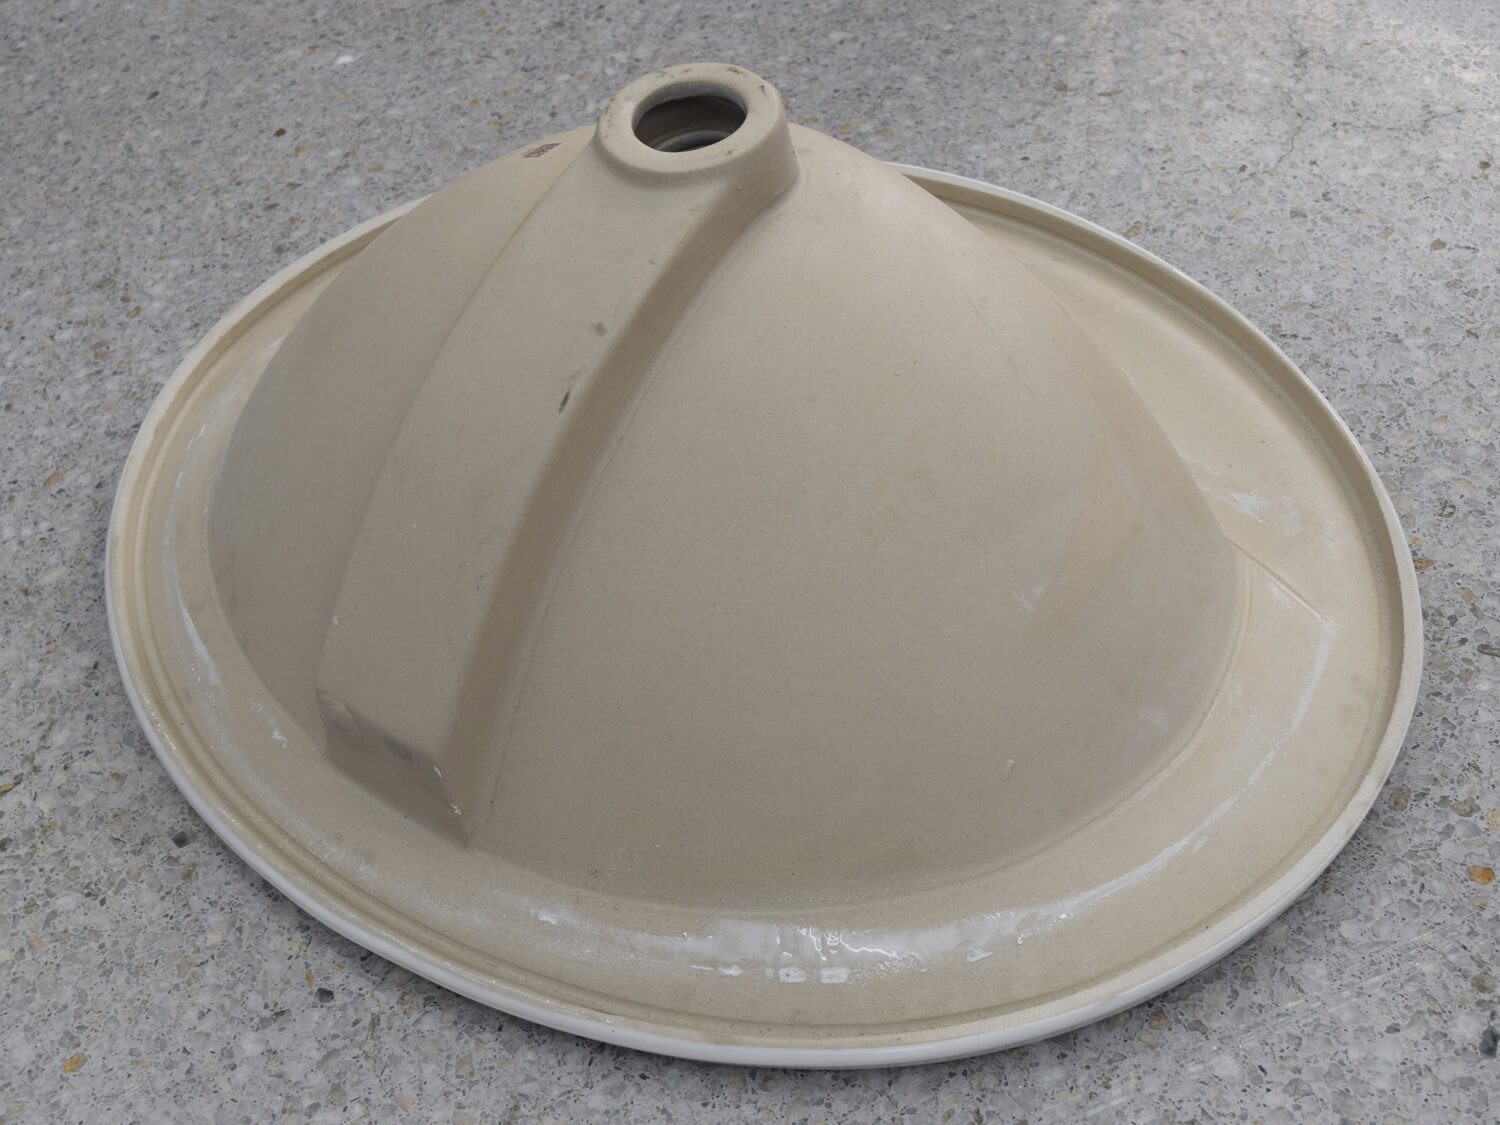
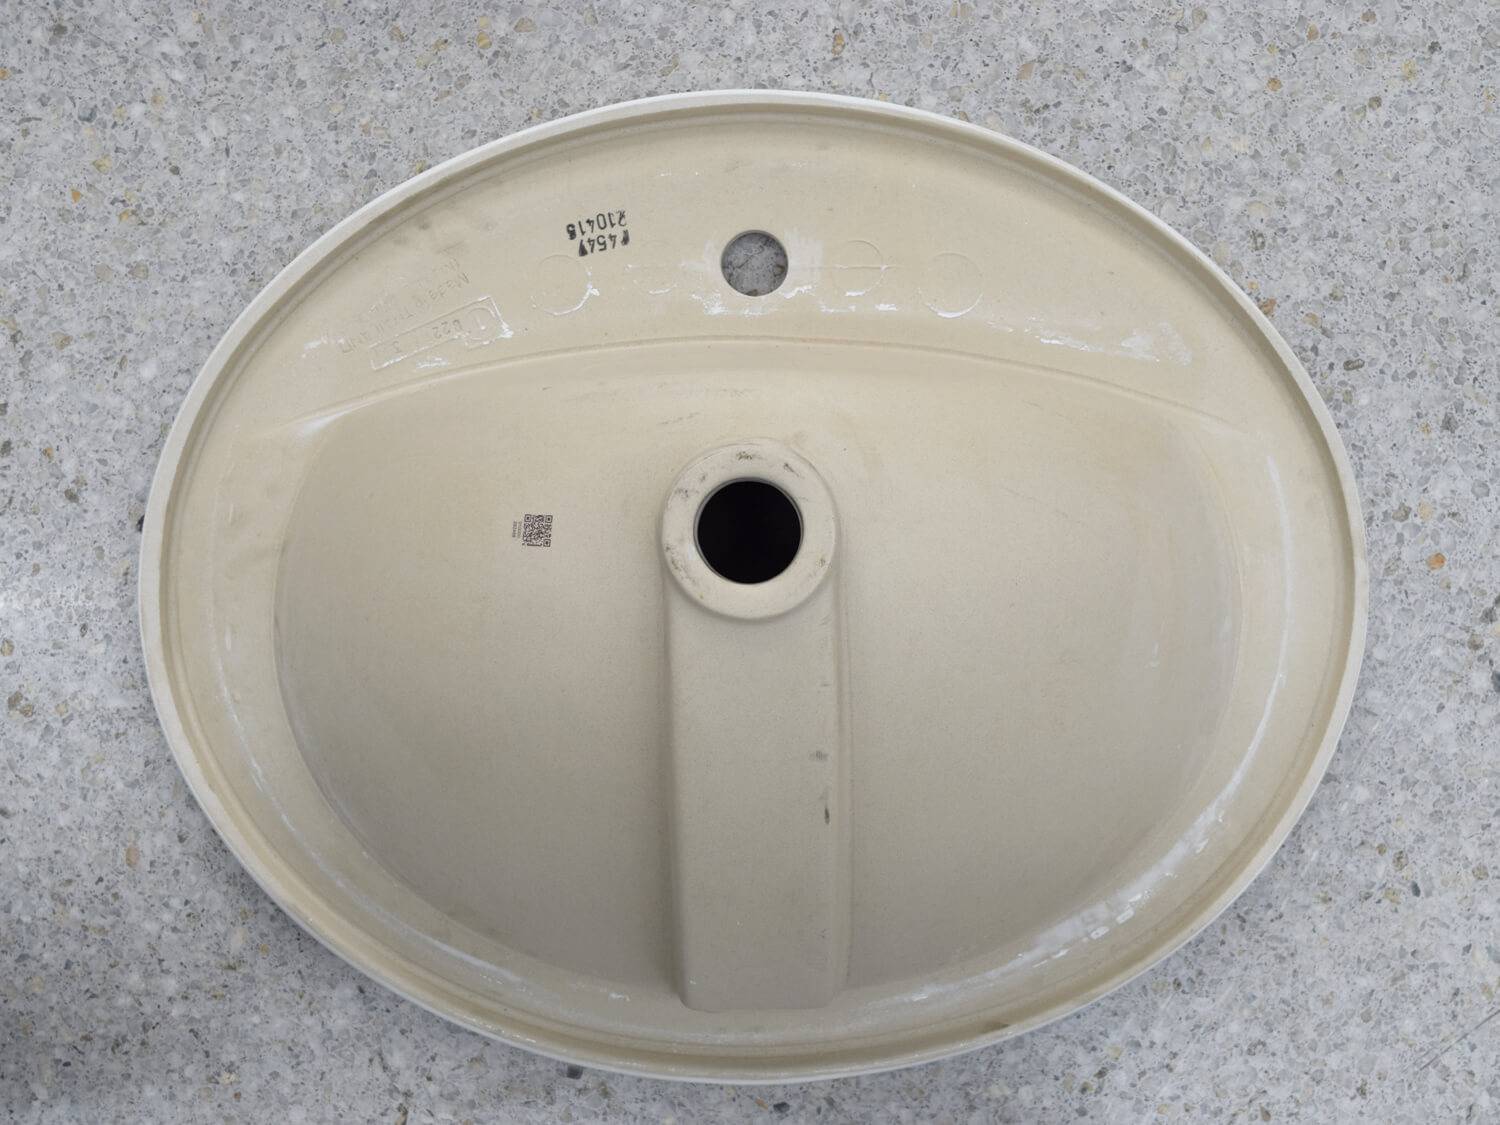
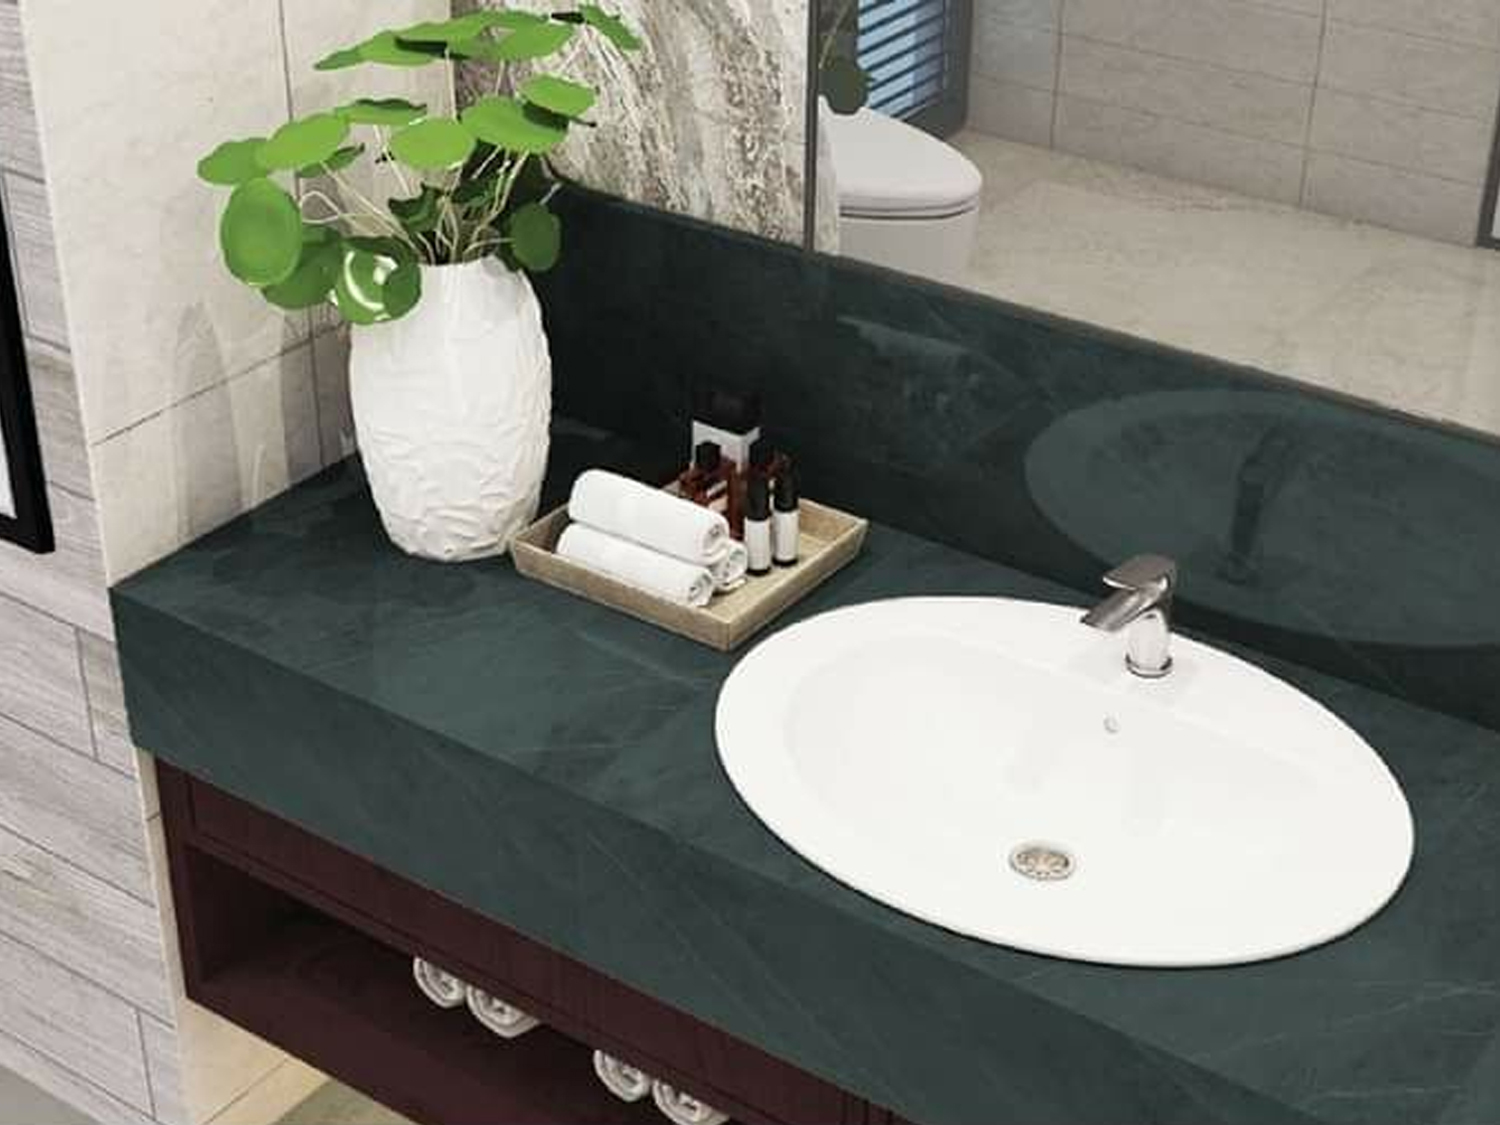
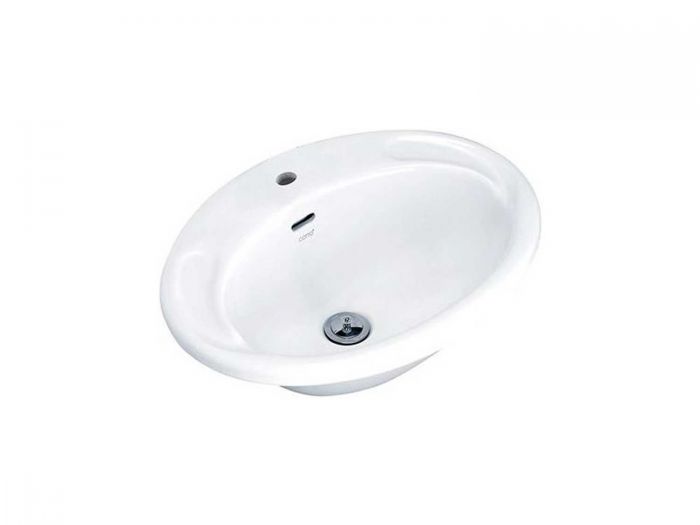
The Serena Drop-in basin is another great addition to our very popular COTTO range of ceramics basins, this drop in basin can be used in any worktop or vanity unit that ideally measures at least 650mm wide and 530mm deep. This drop-in basin has a ceramic rim that sits on top of your worktop surface and the weight of the basin holds itself securely in place.
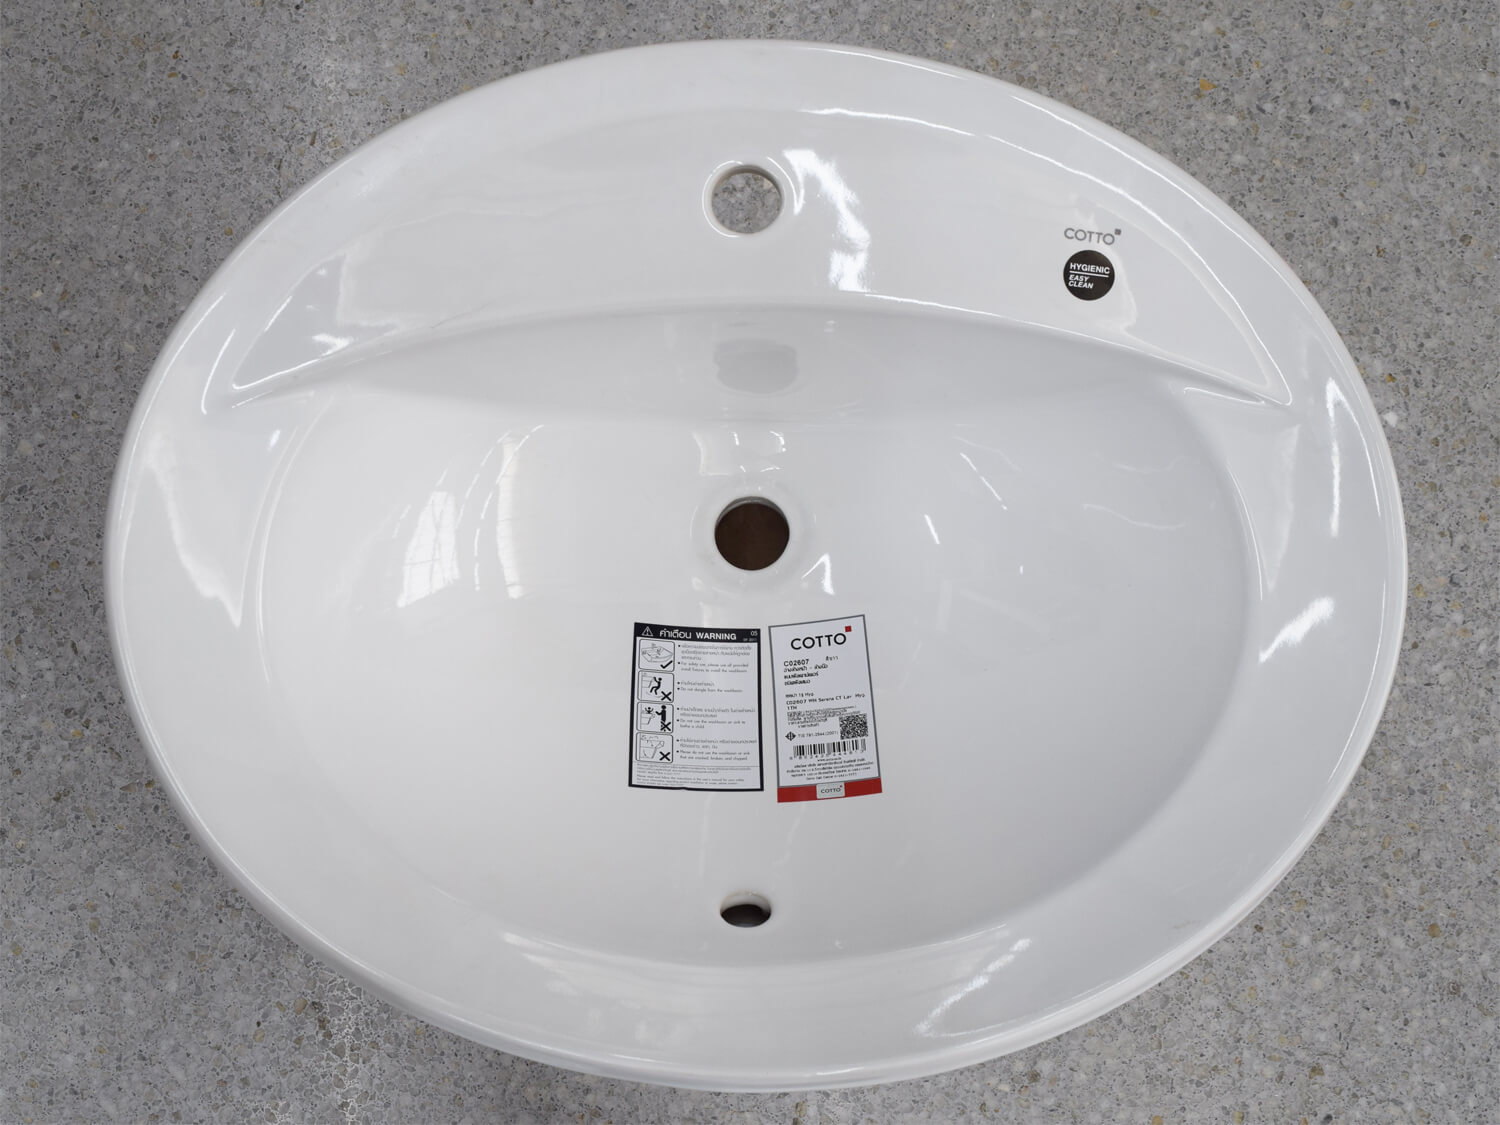
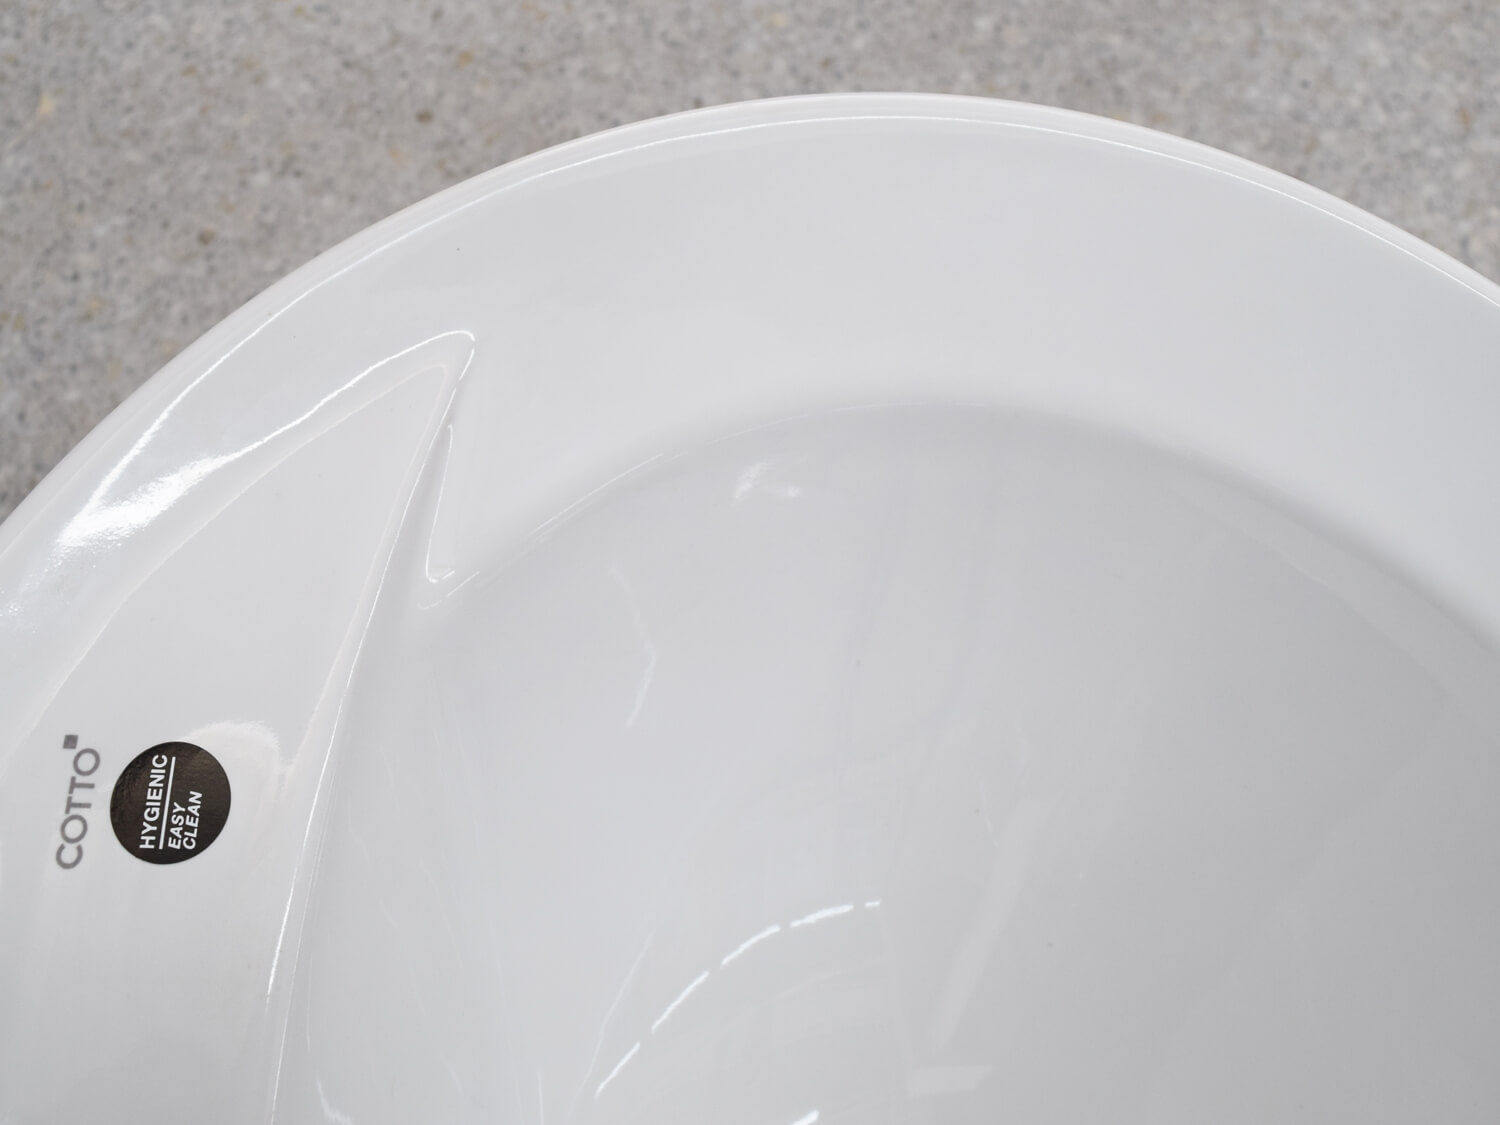
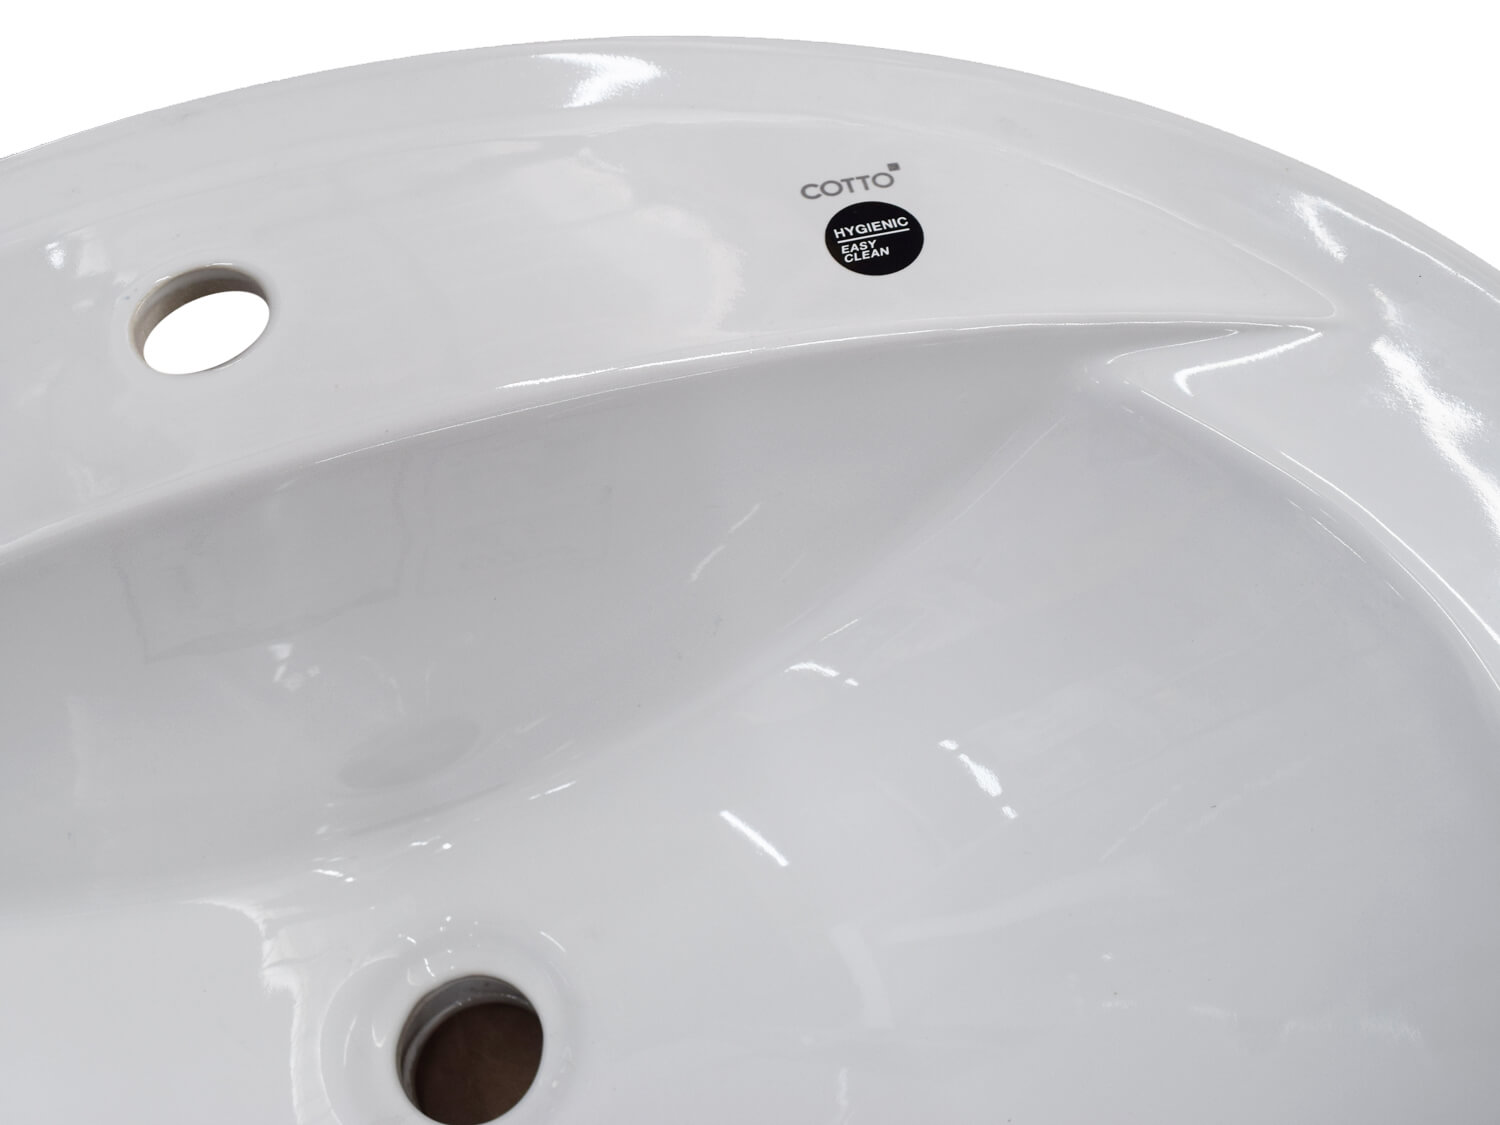
The basin has a built-in overflow located at the back of the basin, so please remember to add a slotted waste to your cart for this so any excess water can escape out of the overflow. This COTTO Serena basin only comes with the option of 1 tap hole, and can be coordinated with a range of single tap hole mixers. Please see our line of compatible Tivoli basin mixer taps to complete the look.
Specifications
- Inset basin suitable for vanity units or countertops.
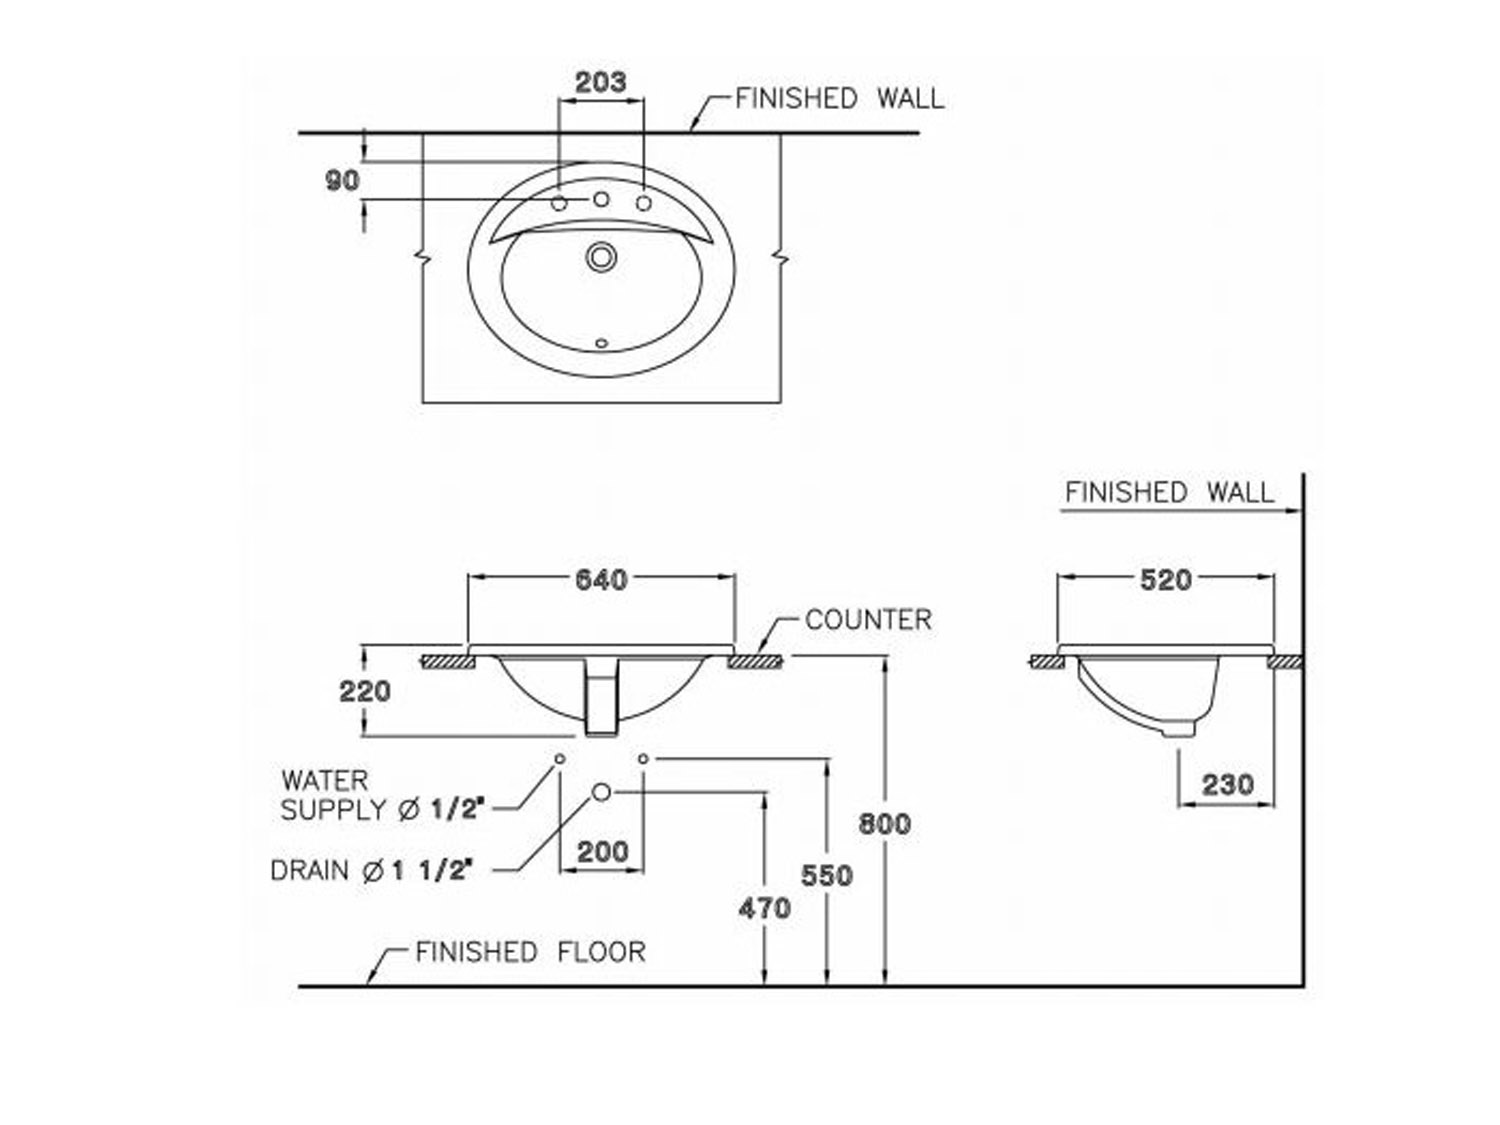
- Dimensions: 640(w) x 520(d) x 220(h)mm.
- Made from high quality ceramic.
- Supplied with one tap hole only.
- Colour: White.
- Has a builtin overflow.
- Does not include waste fitting.
Care Instructions
To clean the basin you should use the appropriate cleaner to prevent staining. After finish cleaning rinse with water immediately to remove any remaining cleaner.
Product Specifications
| Brand | COTTO |
|---|---|
| Height (mm) | 220 mm |
| Length (mm) | 640 mm |
| Width (mm) | 520 mm |
| Depth | 220 mm |
| Waste Size | 45 mm |
| Overflow Size | 23 mm |
| Centre Tap Diameter | 35 mm |
| Colour | White |
| Type | Drop In Basin |
| Product Weight | 11,7 kg |

Step 1. - Mark The Area Of The Sink
- Carefully place the Dhobi sink upside down on the kitchen/laundry counter.
- Draw a line around the dhobi sink making sure the dhobi sink edge is parallel to the counter edge.

Step 2. - Place Cutting Template
- Place the paper template provided with the basin on top of the counter and secure it with masking tape or office glue.
- Align this template with the line you had drawn earlier in Step 1.
- Cut out the template along the dotted line using a scissor or box cutter as shown on the template. It is important to mark the hole for the tap on the counter if you will be using a pillar tap.
Click below to download a soft copy of the desired paper template for your basin.

Step 3. - Cut Hole For The Dhobi Sink
- Using the electric jigsaw, cut the hole along the straight cut lines on the template.
- Once the hole is cut and the sink fits you can remove the paper template.
- Before you install the dhobi sink please make sure you have drilled the hole on your counter for a pillar sink mixer. If your sink mixer is a wall type then you do not need to drill this hole.
Tip : Install the waste/drain into the dhobi sink before dropping it into the cut hole. This will be easier to do now. Make sure you apply silicon around the waste for a water tight seal.

Step 4. – Lower The Dhobi Sink In Place.
- Apply a bead of silicone around the edge of the hole and the edge of the dhobi sink from the inside.
- Drop the dhobi sink in place and apply even pressure on all sides.
- Make sure there are no gaps in between the counter and dhobi sink.
- Remove and wipe out any excess silicone that sips out.
- Now you can connect your bottle trap to the dhobi sink waste.
- You can than connect the bottle trap to the sewage drain.

Step 5. – Installation Complete.
- Your dhobi sink installation is now complete.
- Wait 24 hours for everything to dry and then open the water to check for any leaks.


Ready when you are!
Buy Online and we will reserve and pack your order to ensure a speedy collection at your local CTM store. We offer free collections at all our CTM stores countrywide.
Normally, orders will be ready for collection on the same day payment is made and confirmed. For all cheque payments, your order will be processed and dispatched once the cheque is deposited and clears. See all our payment options here.